Showing posts with label Regency. Show all posts

Monday, September 12, 2011

WIP: Why I've been so quiet

I realize my attention to my projects have been lapse lately. I want you to know I've been busy on a HUGE project. and I thought I'd share that with you.


As some of you may or may not be aware, I am a Regency Reenactor and this does require making Regency garments.


Over the Summer I decided to re-make one of my dresses-- in fact this one;


It took me a while to decide how I would re-make this dress but finally I decided to copy this actual Regency gown that has survived 200 years.


The construction of this dress is complete and now I am working on the heavy embroidery which in no way can compare to the original. But oh well.


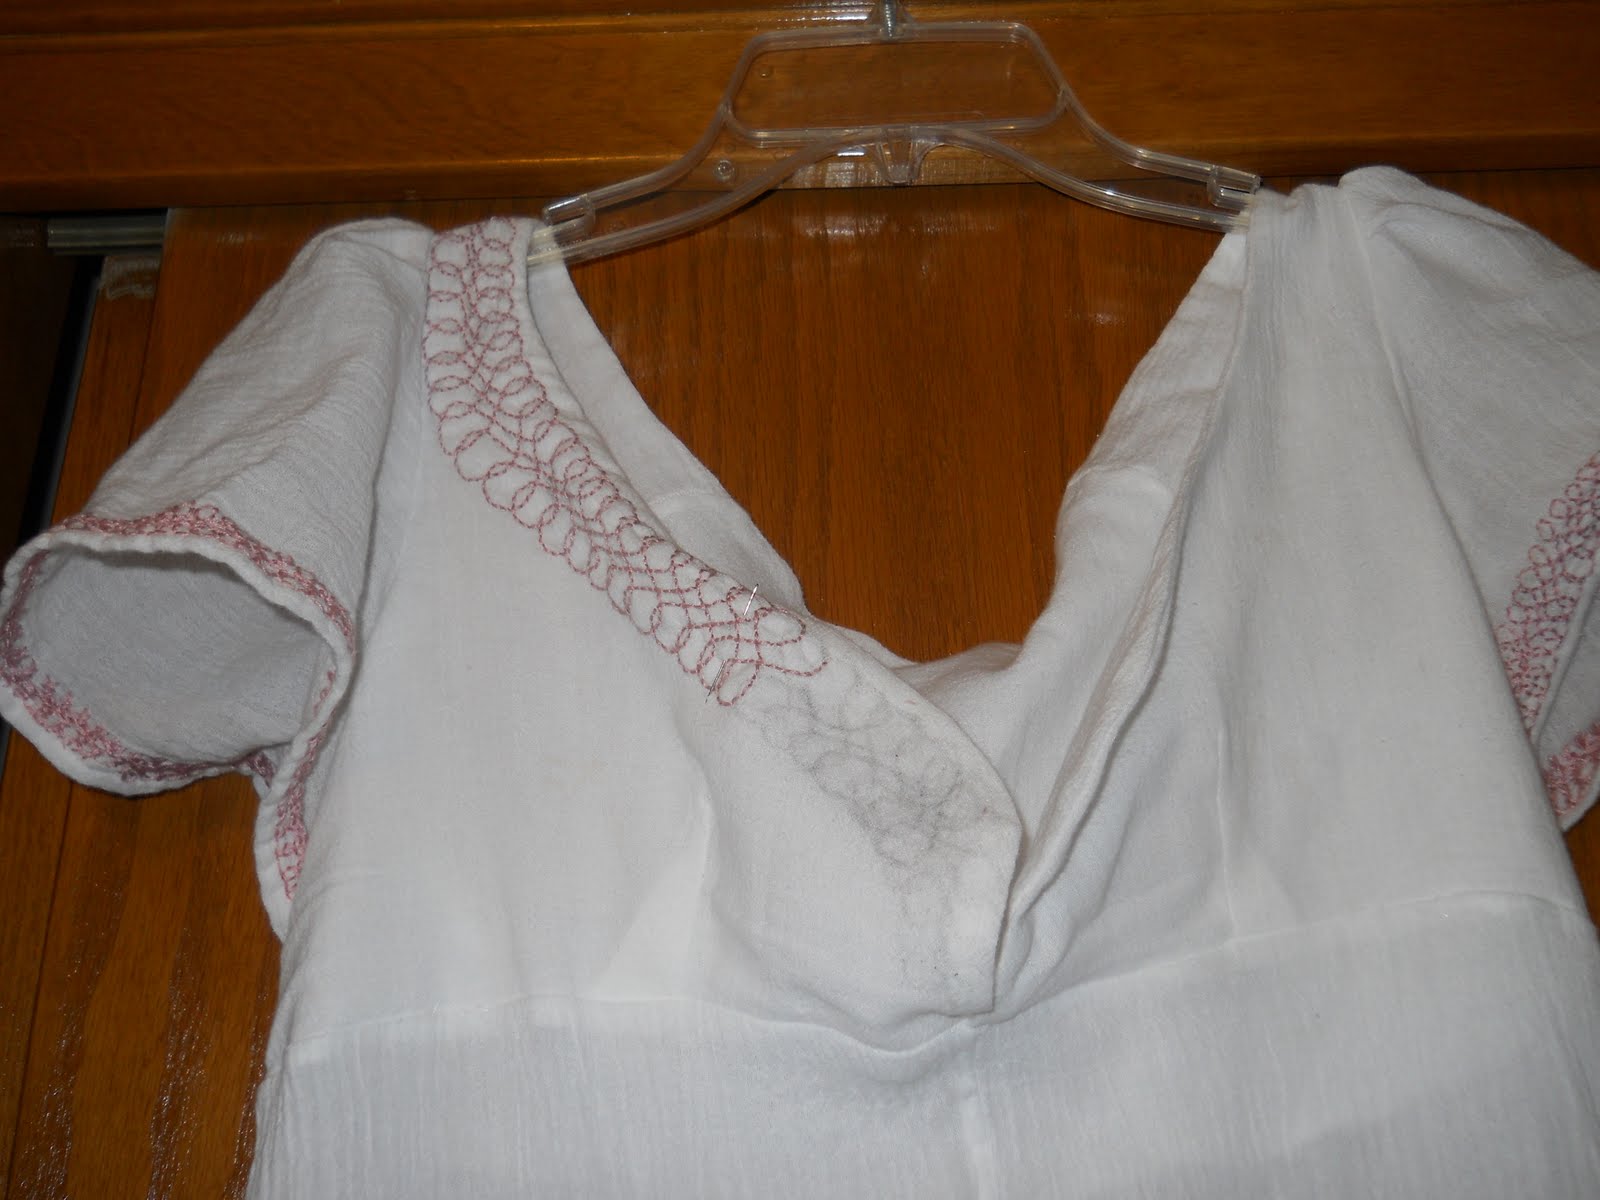


Thanks so much for being patient with me while I work so hard on this extensive project. I'll be back soon with more modern DIYs for you.


In the meantime, please check out my Great Googly Eye Giveaway and don't forget to put in your entry!

Thursday, September 9, 2010

Millinery

One of the first things I learned how to do was to make hats. Primarily Regency Bonnets. I mainly use straw as a base because, its cheap, its natural and it's moldable. I've done historical Reenactments since I was about 15 so I have a lot of hats that I've made and I will basically load you all down with pictures of hats today.

First hat is Anna. She's made with a straw base, black satin, green satin ribbon and green plume.


The next hat is Elinor, she has gold crown and a blue satin ribbon.


Emma is a white cotton bonnet.


Fanny was the most difficult hat for me to make because I was given this really big black bonnet that I literally tore apart and then re-sewed by hand the straw in the form I wanted it. So it took a lot of time and was in pieces for about a year.


I also wanted to show you that the brim is folded in the back and is not attached to the crown.


Kitty appears to be a simple hat. She used to be one of those large brimmed hats but I cut the back out of her hat to make her into a bonnet.


Lady Hamilton is one of my favorite hats. She has a black velvet crown, a black lace tie and black ostrich plume. And again the brim in the back is molded up so there is nothing holding it up.


Next is Lizzy which was probably the first bonnet I ever made. She's taken a lot of wear, expecially recently when I let my 8 year old sister wear her out. She is in sad need of repair but I will probably wait until the next time I am reenacting to do that.


Lucy is a more recent bonnet and I also did a simple how-to make her. I didn't do any molding with her because she had the perfect shape already.


Marianne is my all time favorite hat! I love her so much and you can probably see why.


And last but not least is Marie. She's an earlier styled hat but I love her all the same. She's so bright and vibrant! I love wearing her in the fall.


Ok so there aren't any hats in this scene but it is my favorite scene from Sense and Sensibility. If you haven't seen the movie then check it out. (I made a reproduction of the dress Kate Winslet is wearing in this scene also)

Monday, May 24, 2010

"I shall pull it to pieces when I get home and see if I can't make it up any better,"

Photobucket

Those famous lines of Lydia as she shows of an ugly hat she purchased have inspired Regency historians alike.

Like many Reenactors, I've had to improvise and look past the modern shells of so many things sold in stores now adays to find its historical roots.

Supplies:

$1 4th of July Hat at Target
Ribbon and trim
Velvet or other fabric
Seam ripper
Needle and thread

(note if you purchase a hat that has the trim glued on, use nail polish remover to carefully remove the glue from the straw.)


The hat I used was this cheap hat sold at Target for $1


I was lucky that the trim was sewn on the hat- this made my job of removing it much easier. I simply ran my seam ripper along the seams to remove the trim.


Because the brim of the hat had a raw edge it was important to stabalize it by adding trim. I used a black braided trim to my hat.


Take your fabric and cut out a circle that is one inch larger than the brim of your hat. Sew a casting for a draw string and run a ribbon through it.


Place your fabric over the top of your hat and pull the draw string close around it.


You can sew your fabric to your hat and be finished or you can add a trim around the base of your hat. I chose the latter.


For more ideas on Regency dress, visit my Regency page at The Regency Lady