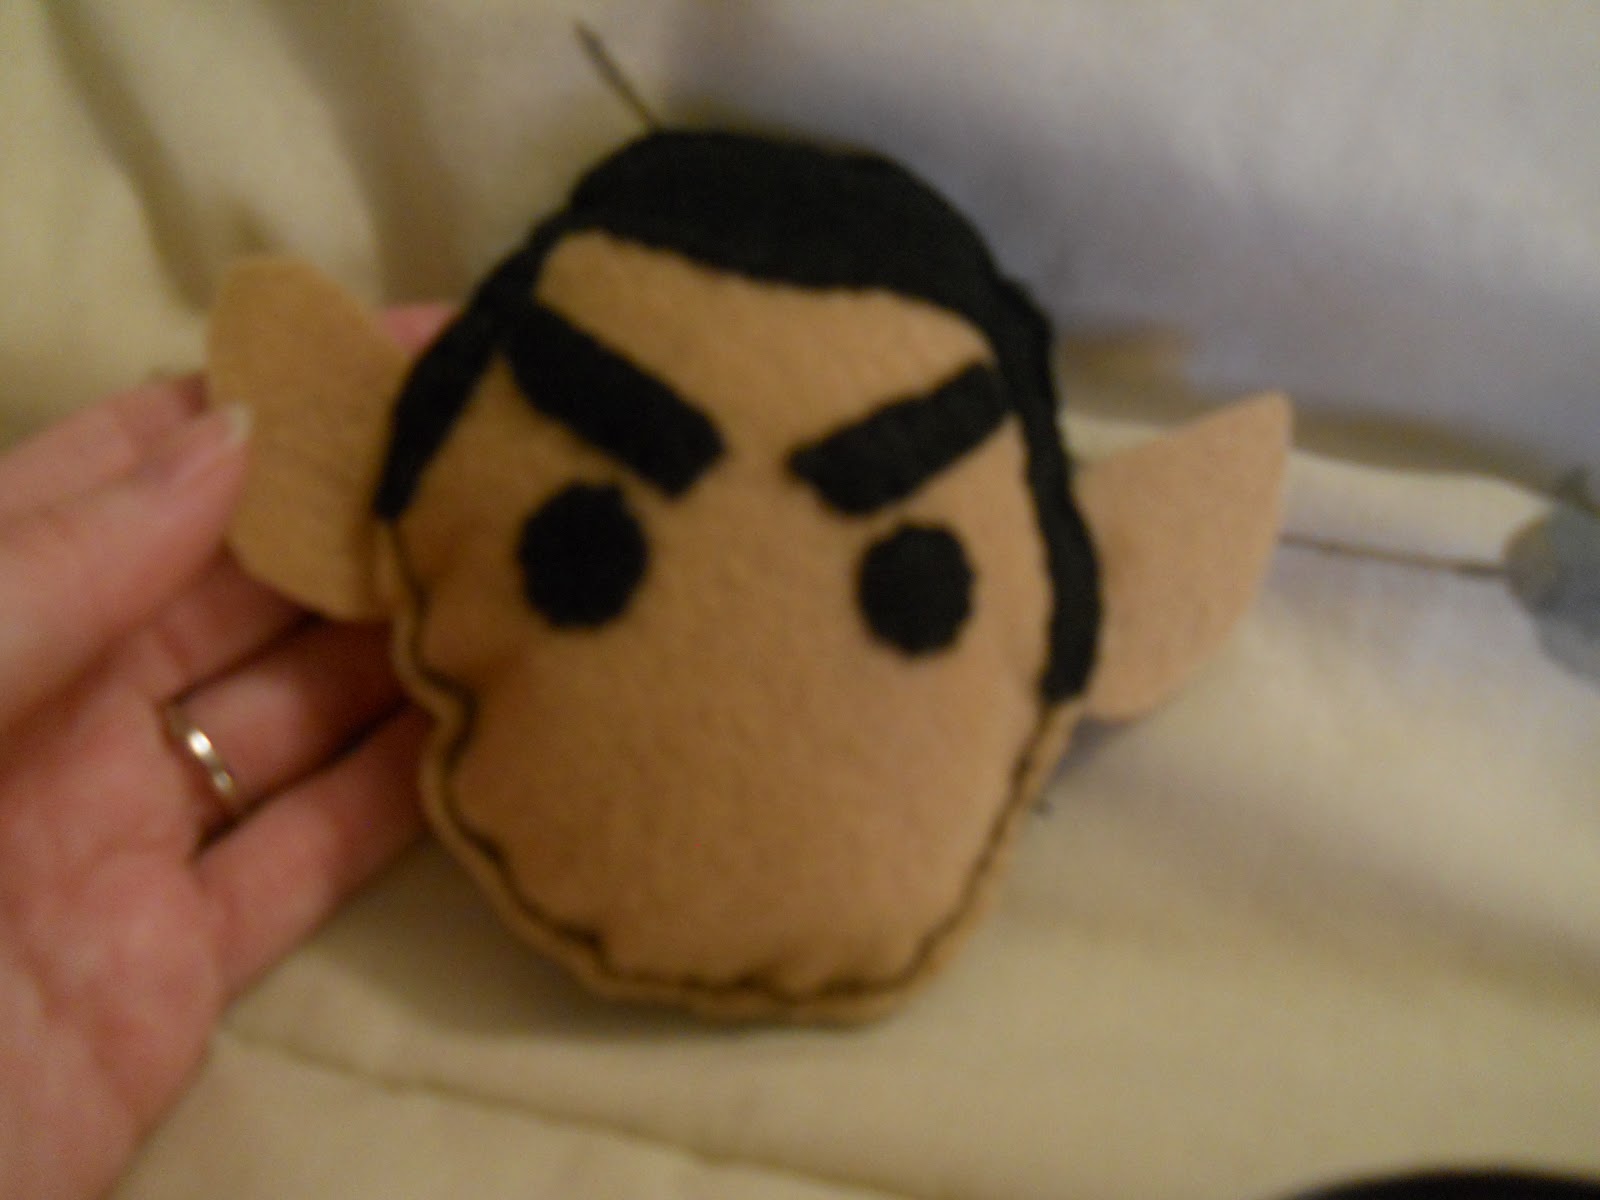
I've been making baby toys for my new little one that's on the way. So I decided to make a couple quick tutorials for anyone looking for some great baby gift ideas. First up is a Yoda rattle.

You'll need some light green felt.

Some black felt.

White felt.

Embroidery floss.

Embroidery needles.

And scissors.
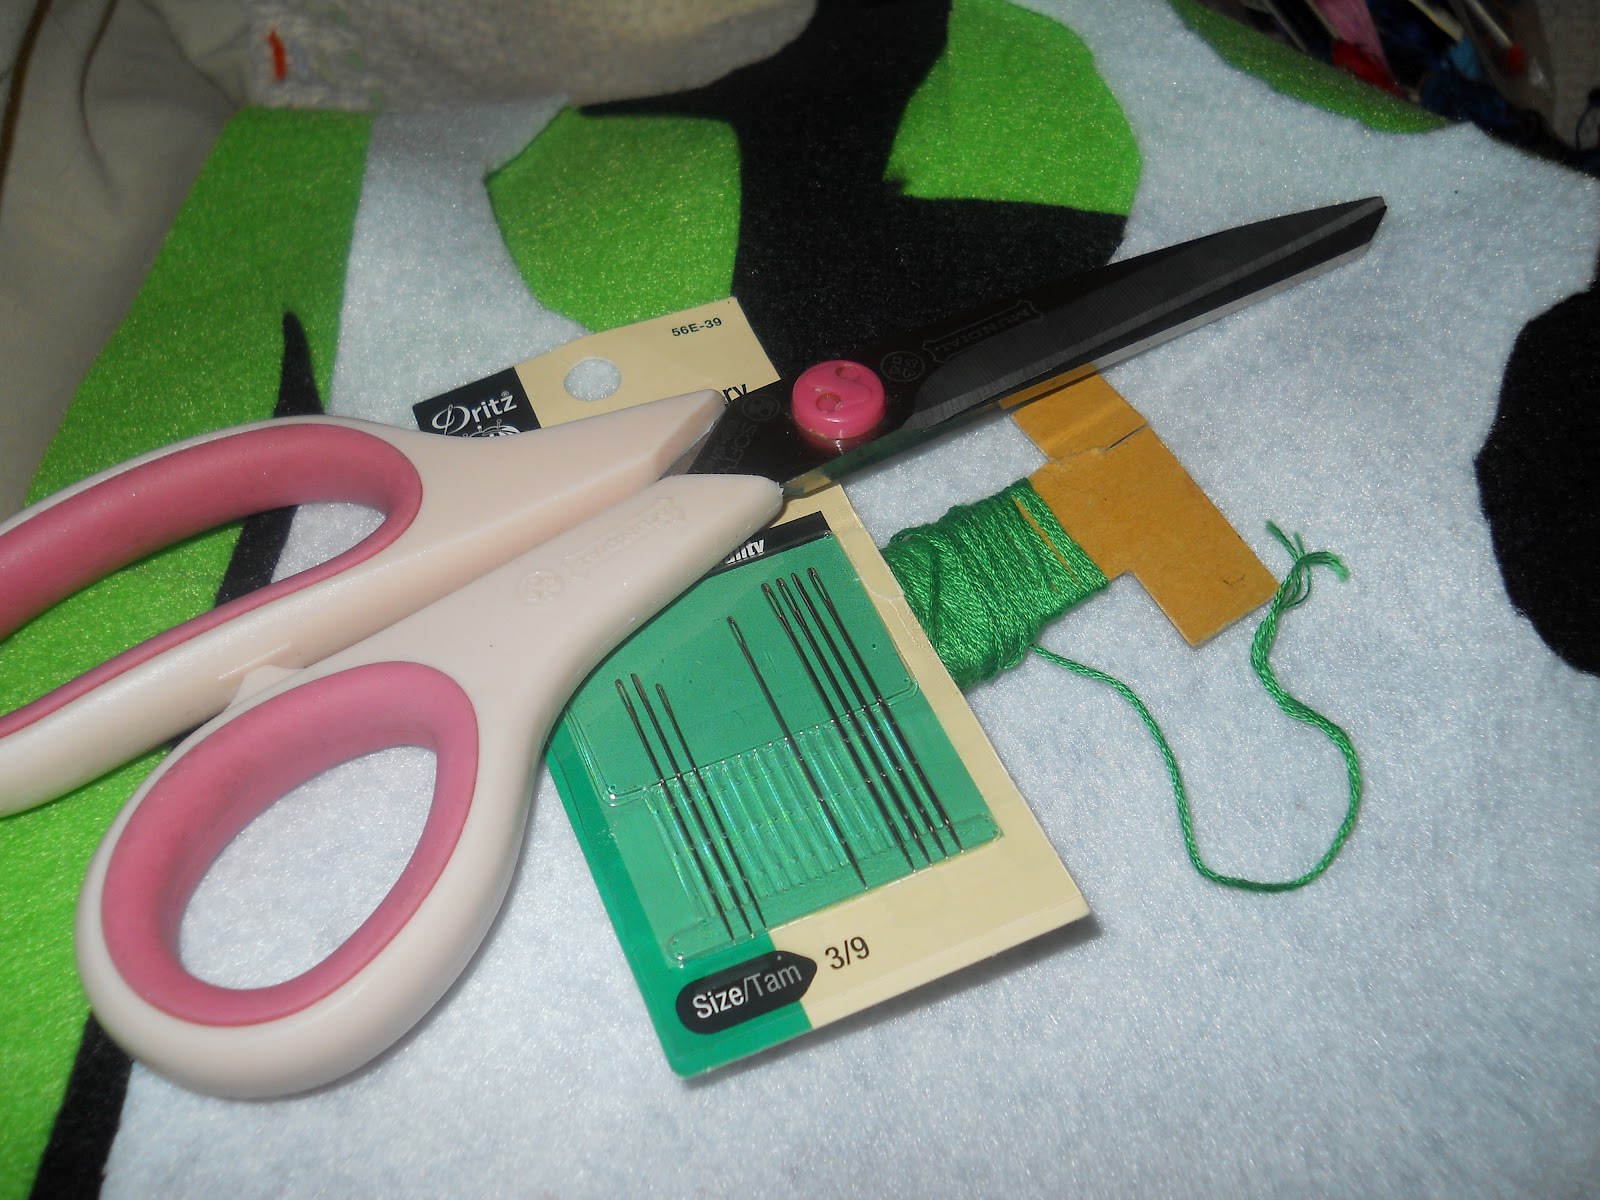
You'll also need some cotton stuffing.

And a bell.

Start by cutting out two oval shapes from your green felt.

Next cut out two openings for the handle/mouth.

Next cut out some small ovals out of your white felt and some small circles out of your black felt for the eyes.

Pin and sew into place using a basic whip stitch.

Next using the back stitch, sew lines for his wrinkled forehead.

Next pin the front and back together and sew only around the mouth using the back stitch.

Next cut out two large elf-shaped ears from your green felt. Pin your ears in place and begin to sew using your back stitch still.

Leave a large gap opening at the bottom and begin stuffing.
Don't forget to add the bell!

Stuff as you sew around the handle to make sure you get a good fluff.

And that's it!

Now let's do Spock. This time you'll only need a flesh colored felt and black felt.

Cut two ovals, one from your flesh colored felt and one from your black felt.

Next trace one of your ovals along the top and cut out Spock's signature hair.

Pin in place and sew along the bottom hair line using the whip stitch.

Next cut out two long rectangles for eyebrows and sew on again using the whip stitch.
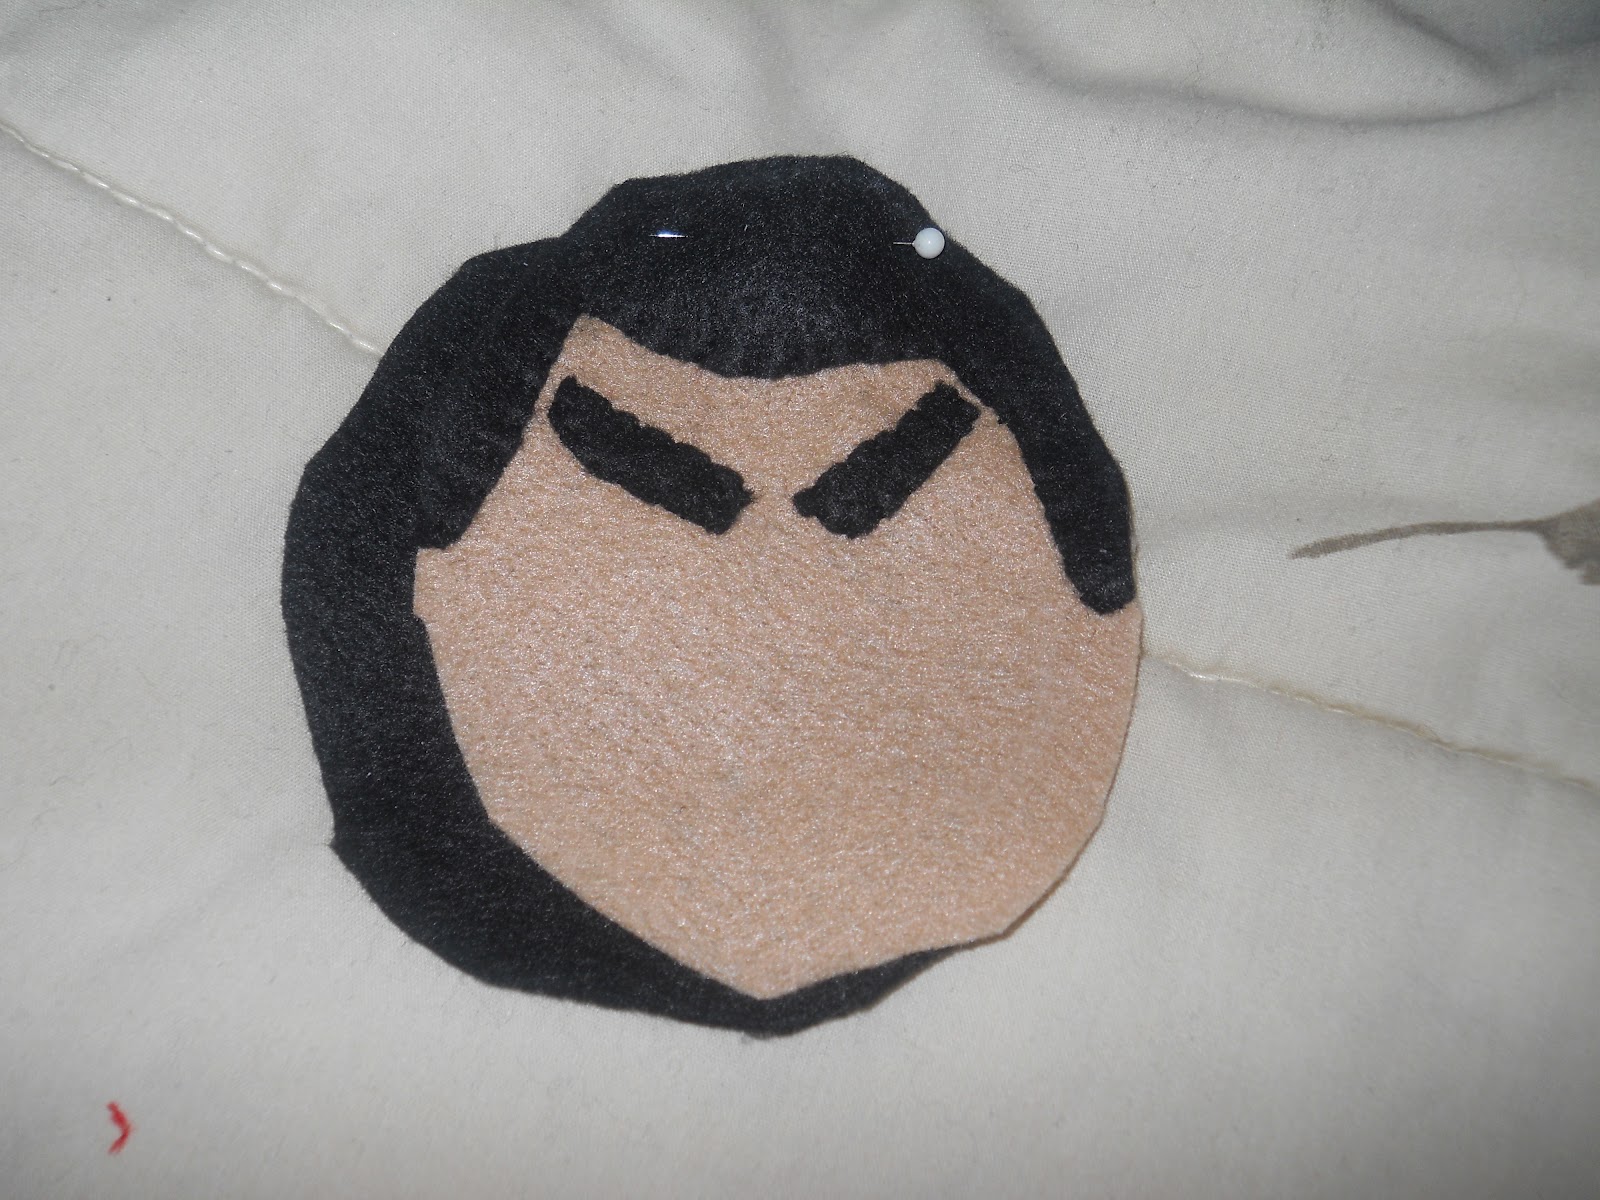
Cut out two small circles for eyes and sew in place.

Cut out two elf ears from your tan felt and pin in place with your black felt pinned to the back of your tan felt.

Sew your two pieces together using the back stitch but leaving an opening for your stuffing.

Start stuffing and don't forget to add your bell!

Finish sewing around your rattle and you're done!