Showing posts with label t-shirts. Show all posts

Thursday, August 23, 2012

DIY Tye Back Top

While browsing Pinterest I came across a top that I just knew I could DIY:


And when a girl at my work presented me with a t-shirt that described my feelings for my current situation pretty well, I knew exactly what I would do with it. Of course, you could use any type of top to do this- as above is a more blousy top.

What you'll need:
Top of your choice
Elastic
Sewing Machine
Fabric Scissors
Tailors Chalk
Straight Pins
Measuring Tape
and a Straight Edge.

 
Start by removing the neckline and sleeves.


Now use your straight edge and tailors chalk to mark a straight line along the back about 2 inches below the under arm.
 
 
Cut along that line.  (I also ended up cutting open the side seams that were left so that the top back was only attached along the shoulder seams.)
 
 
This part might seem a little tricky (but it's not.) Take the top half of the back and fold in half, lining up the seams.
 
 
Cut in half along the fold line.
 
 
Now take your measuring tape and measure your back under your bust. Subtract 2 inches from that measurment and cut a piece of elastic to that length.
 
Fold your elastic in half and mark with tailors chalk.
 
 
Now fold the bottom back portion in half and mark the top center with tailors chalk.
 
 
Pin the center of your elastic to the center of back of your top. (Make sure that your shirt is turned inside out at this point- very important)
 
 
Then pin the ends of your elastic to the ends of your top.
 
 
Sew your elastic on to your shirt using a zig-zag stitch and sewing along the edge. Be sure to stretch the elastic as you sew.
 
 
Fold over and sew down using a straight stitch and again, stretch as you sew.
 
 
Next try on your top and pin your new side seams for the top of your blouse.
 
 
Sew that seam.
 
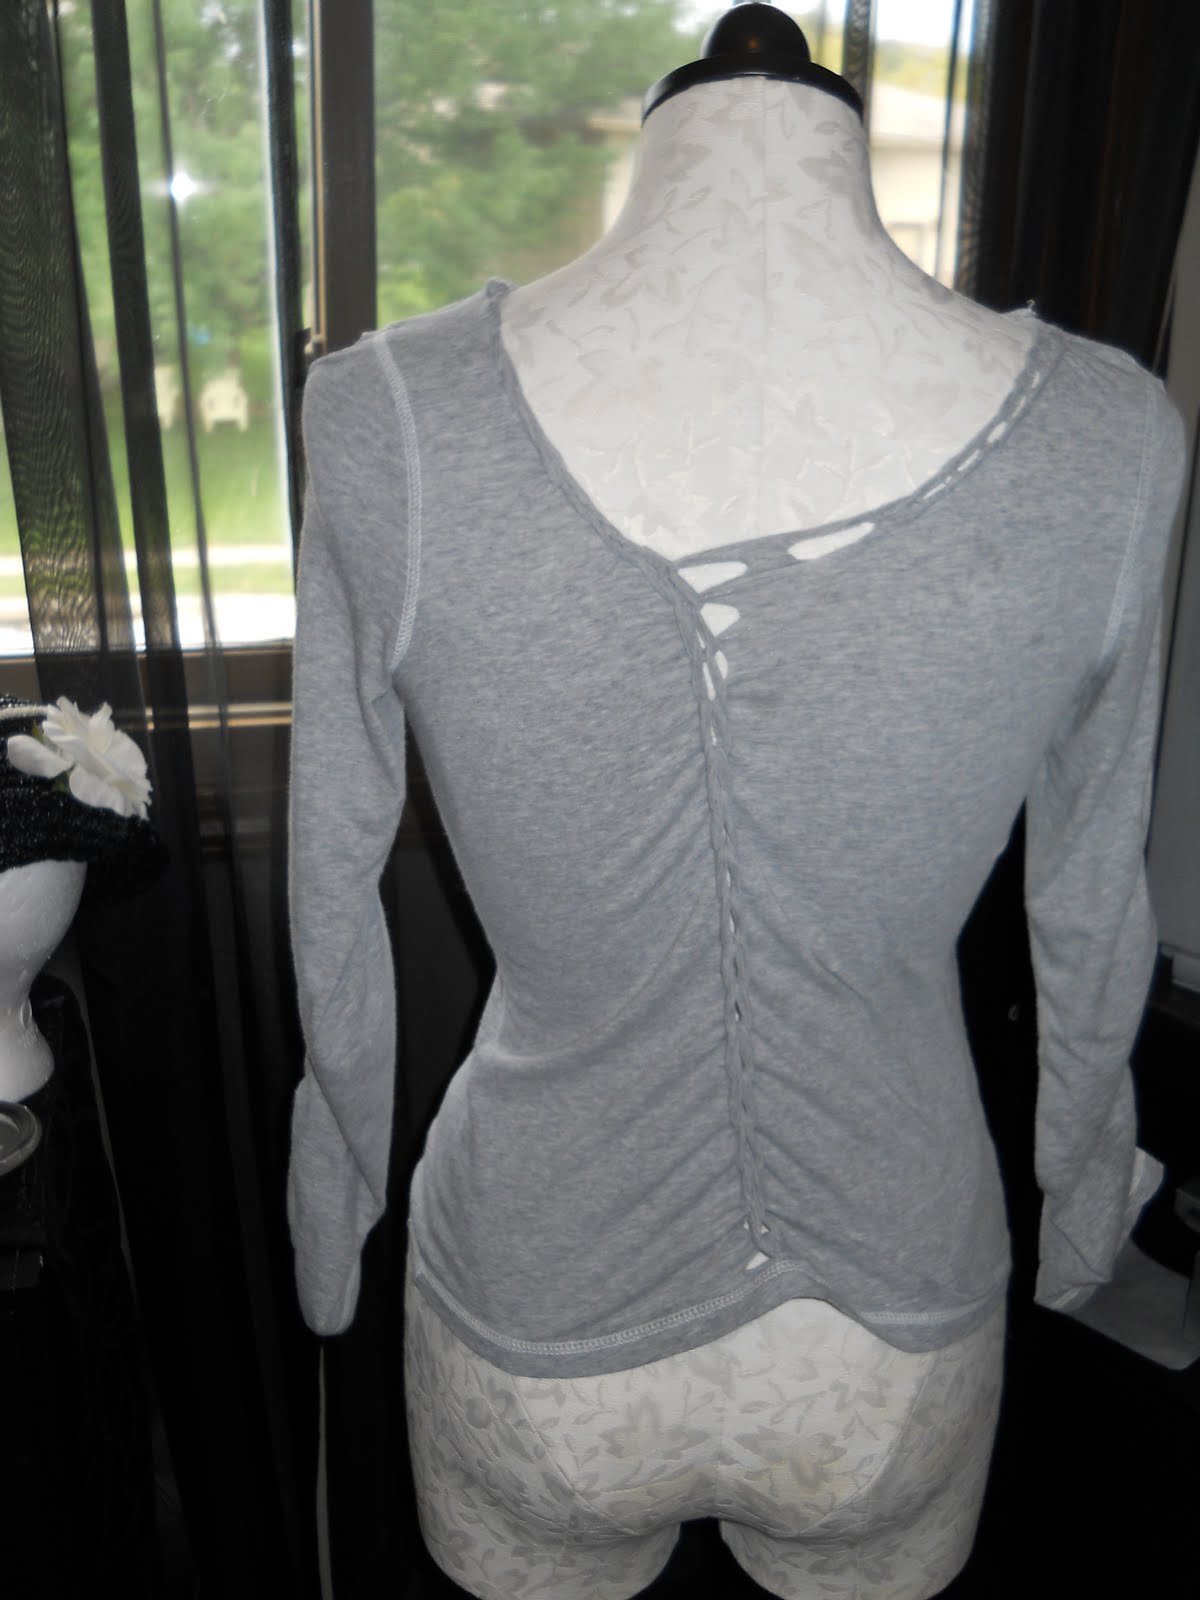
The back of your top should look something like this now.
 
 
Next take one of your sleeves, remove any seaming and open it up.
 
 
Fold in half and cut open.
 
 
Pin and sew to the open cut on the back of your top.
 
 
And that's it! Tie your back and you are done!


Thursday, November 10, 2011

Two T-Shirt Reconstructions (tutorials)


After Halloween I purchased 3 t-shirts for 70% off the origional price which made for a great deal for me. The problem was that they all shrunk in the wash to sizes I can't imagine many people could have fit into. One of them I couldn't even begin to fit over my head. Luckily there are methods of stretching one's t-shirt to a better fit.

So I thought I'd do a couple of fast recons- each taking less then 15 minutes to do. (the second will only take you about a minute)

So let's start.


These are the shirts I purchased (the black one is the one that really shrunk)

So I started with the purple.

Fold it so that your side seams match up.


Next at the top of your shirt cut a triangle out like so.


Repeat cutting triangles down your shirt as far as you like to go.


Next fold your shirt over about an inch like so;


Cut triangles down a second row stopping right below the last one on the first row.


Repeat that process until you've gone as far over as you want to go. I put a bright colored t-shirt under mine so you can see what it looks like when finished.


Stratch the back of your shirt and then remove the hem of your shirt.


Cut fringe along the bottom of your shirt.


Stretch out fringe.


My cat decided to see what I was up to at this point.


I decided I wanted the fringe on my sleeves to be as long as possible so I removed the seam in my sleeve using a seam ripper but if you don't want to do this part you can just cut off the hem and begin to cut fringe on your sleeve if you want.


Stretch out fringe on sleeves.


Take two strands on fringe on the sleeves only and tie them into knots.


Finished!


For the second top start by cutting the collar away from the back of the t-shirt.


Cut the collar away from the front as far down as you want to go without actually removing the collar.


Clean up the collar then lay your shirt so the top side seams meet.


Cut out a pie wedge shape so that your shirt becomes off-the shoulder.


Stretch the shirt so it curls and you're done!


Friday, July 22, 2011

Braided Shirt

I just thought I'd share this becaues I think it's pretty cute. I made it yesterday while bored and watching a Project Runway marathon. What do you think?


If you'd like to learn how to do t-shirt lattering here is the video that taught me.