Showing posts with label diy clothes. Show all posts

Sunday, April 7, 2013

DIY Fabric Dye: Machine Wash

The third and final method for dying fabric is the easiest and cleanest. It's great for when you're trying to dye a large amount of fabric. But you're least likely to get an exact color match when using this method. Be prepared to get a  much lighter, less saturated color when using this method.

What you'll need:
A wash machine
Fabric dye
Salt or Vinegar
Artcile to dye

Start by setting your machine to the hotest setting. I recommend also setting your machine to a small wash cycle. Add your salt and wait until it is fully disolved before adding your dye.

 
Once you're dye is well saturated in you wash, add your clothing- when your machine is finish filling you will want to pause your wash or if you can- set the wash cycle for a longer setting. Make sure your fabric is in the wash for a good 30 minutes at least before your machine is allowed to drain.
 
When your wash is finished, wash your clothes again in a cold setting and dry as normal.
 
 
And that's it!
 

Friday, March 22, 2013

Lady Gaga Inspired Litte Monster DIY

I'm so excited because these past two weeks there has been a serious influx of followers on my blog via bloglovin so welcome new followers I'm so happy you found my little corner of the web. To my former followers I am so sorry I've been so distant lately. I'm still trying to find balance between being a mom and a diyer.

Which brings me to my next topic, what say you to me doing a series of 30 DIY projects under 30 minutes? It might take me some serious thought to come up with different, fun and wearable projects but I'm up for the challenge.  And to kick it off, I will be starting with a little monster inspired DIY.

I won't lie, it wasnt actually Lady Gaga who inspired me, but pictres like these that I found via pinterest;


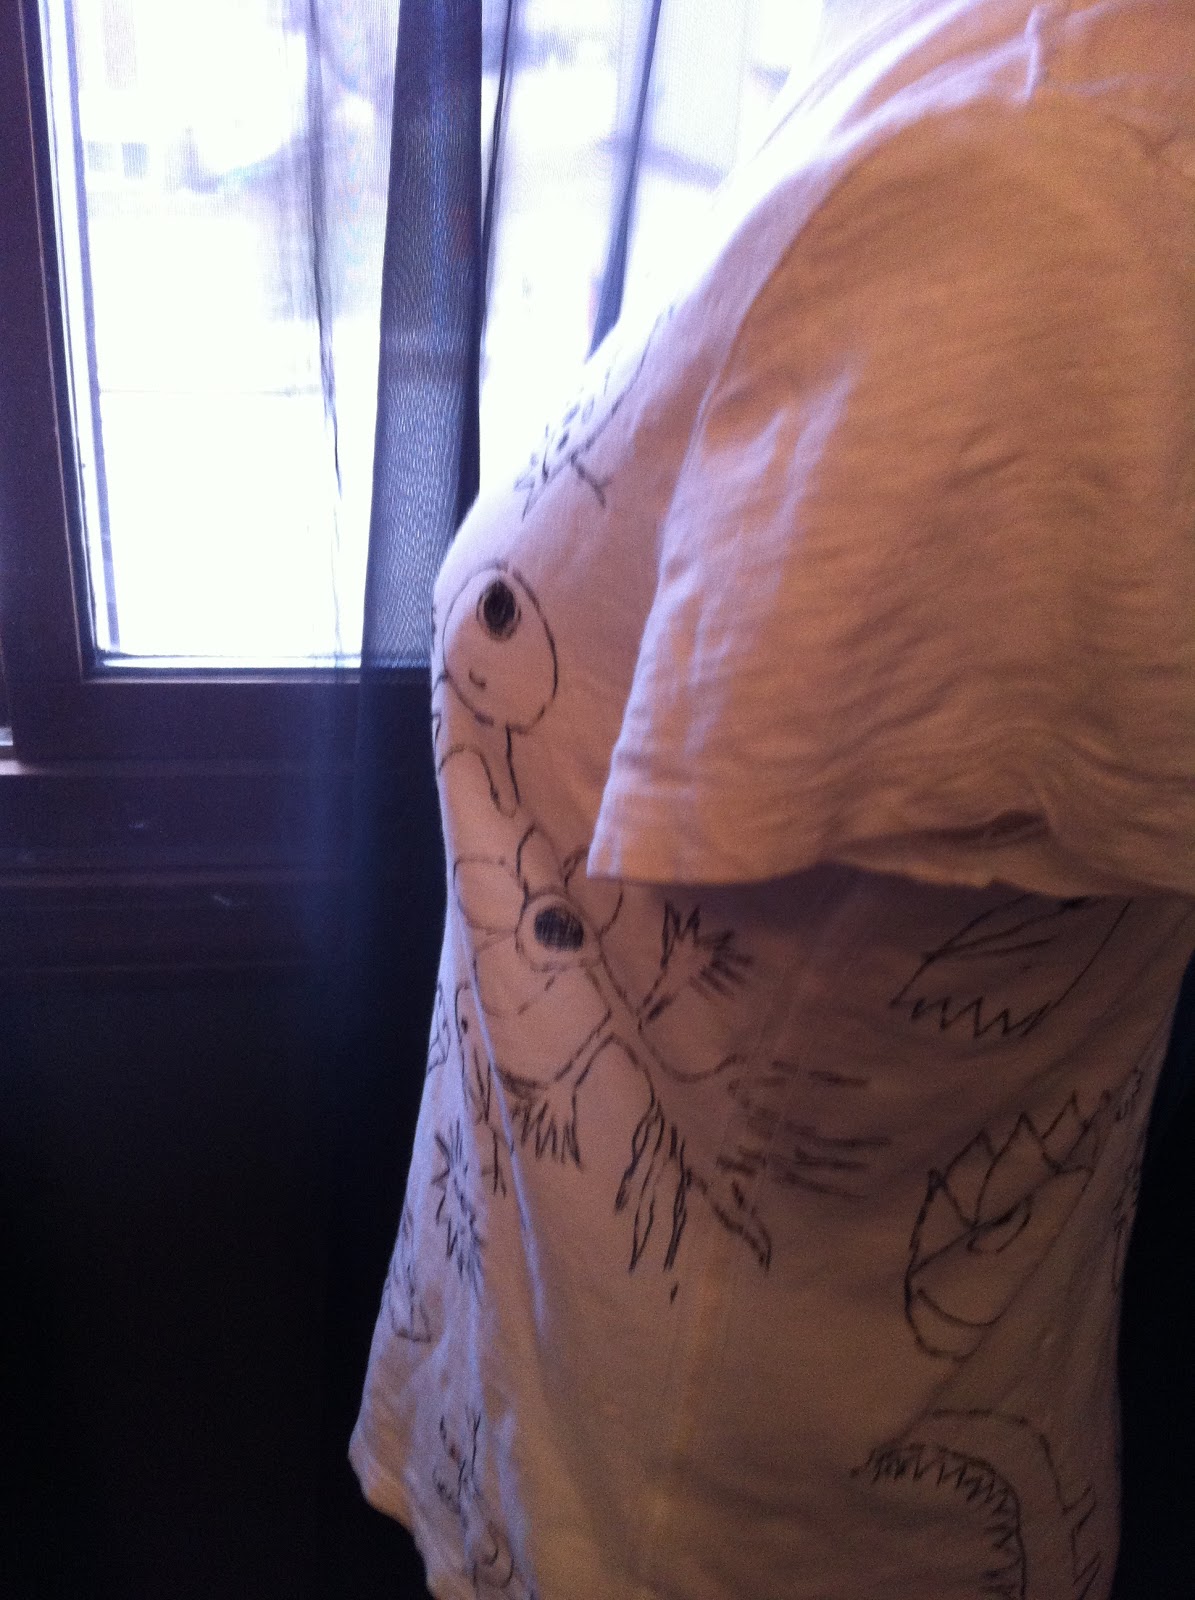
and I came up with this,
 
 
What you'll need:
a plain white t-shirt
fabric markers
a mat or newspapers
 
 
Start by placing your mat inside your t-shirt to prevent the ink from seeping through.
 
Then start doodling your little monsters,
 
 
Get creative and if you have to, repeat a few monsters- it will make your shirt look more like a print if you do.


Have fun!
 

Saturday, September 1, 2012

Maxi to Mini Skirt

 
This is a super easy skirt to make and you can wear it a multiple of ways.
 
What you'll need: jersey knit fabric of your choice
fabric scissors
sewing machine
serger (optional)
straight pins
safety pin
measuring tape
 
Start by taking the measurment around the widest part of your bottom half (i.e. your bottom).
 
Also measure around your waist.
 
Now cut two rectangles to the width of those measurments and the length of your choice. (double the length on your waist rectangle.)
 
 
Fold both in half and sew down .
 
 
You should then have two pieces that look like this.
 
 
Next cut two long strips the length of your skirt by about an inch.
 
 
Fold in half and sew. Turn right-sides out using a safety pin or whatever method you prefer.
 
 
Cut your straps in half so you have a total of 4.
 
 
Next you're going to fold your waist band in half, wrong sides together. Pin it to the top of your skirt matching your seams.
 
This next part may sound a little confusing it isn't really once you do it.
 
You're going to pin your strings on the sides of your skirt so mark where the sides are.
 
Next pin one of your strings on what will become the inside of your skirt and the other sandwitched between your waist band and your skirt.
 
 
Repeat on the other side.
 
If you are using a serger, I suggest doing a stay stitch with your sewing machine first. Use a long stitch in a contrasting color so it's easier for you to remove later. Stretch your waste band as you're sewing so that it fits to your skirt.
 
All you have to do now is hem and then you can wear!
 
It's that simple.
 
Wear it long.
 
 
Or tie it to wear it shorter.


Thursday, November 10, 2011

Two T-Shirt Reconstructions (tutorials)


After Halloween I purchased 3 t-shirts for 70% off the origional price which made for a great deal for me. The problem was that they all shrunk in the wash to sizes I can't imagine many people could have fit into. One of them I couldn't even begin to fit over my head. Luckily there are methods of stretching one's t-shirt to a better fit.

So I thought I'd do a couple of fast recons- each taking less then 15 minutes to do. (the second will only take you about a minute)

So let's start.


These are the shirts I purchased (the black one is the one that really shrunk)

So I started with the purple.

Fold it so that your side seams match up.


Next at the top of your shirt cut a triangle out like so.


Repeat cutting triangles down your shirt as far as you like to go.


Next fold your shirt over about an inch like so;


Cut triangles down a second row stopping right below the last one on the first row.


Repeat that process until you've gone as far over as you want to go. I put a bright colored t-shirt under mine so you can see what it looks like when finished.


Stratch the back of your shirt and then remove the hem of your shirt.


Cut fringe along the bottom of your shirt.


Stretch out fringe.


My cat decided to see what I was up to at this point.


I decided I wanted the fringe on my sleeves to be as long as possible so I removed the seam in my sleeve using a seam ripper but if you don't want to do this part you can just cut off the hem and begin to cut fringe on your sleeve if you want.


Stretch out fringe on sleeves.


Take two strands on fringe on the sleeves only and tie them into knots.


Finished!


For the second top start by cutting the collar away from the back of the t-shirt.


Cut the collar away from the front as far down as you want to go without actually removing the collar.


Clean up the collar then lay your shirt so the top side seams meet.


Cut out a pie wedge shape so that your shirt becomes off-the shoulder.


Stretch the shirt so it curls and you're done!


Thursday, August 4, 2011

Project Runway Challenge Week 1

I admit, I was super excited by this first Project Runway challenge. If you don't watch the show or missed the first week then let me fill you in, the challenge was to create an outfit out of your pajamas. They were basically woken up at 5 in the morning and told to "come as they are" and bring one sheet from their bed with them.


I don't wear pajamas to bed but I do have a favorite pair of pajama pants and a sweater that I normally wear around the house which I used instead.


I was originally going to make a dress but being as this was something I was going to wear I liked the versatility of just doing a skirt more.


I still need to dye both the skirt and the sweater to give them a cleaner more new look. Like I said, they were both very well loved and worn pieces so they need a bit of a face-lift but over all I am super happy with them.