
So here is an awesome (and really easy) tutorial for a great fall sweater dress.

What you'll need:
2 oversized sweatshirts
1 sweater
fabric scissors
straight pins
measuring tape
tailors chalk
sewing machine
serger (optional)
Start with your oversized sweater. Mine had a huge stain on the sleave, so it was lucky I didn't really need it because I had a spare sweatshirt.

Start by removing the sleeves and cutting open the side seams.

Next cut straight across the top neckline.

You should have two nice big square pieces of fabric now. Set them aside for later.
Next take out your sweater; mine is oversized so I had to fit it down to size. However if yours fits, simply remove the sleeves and open up the sides.

Next remove the sleeves from your sweatshirt(s) and cut them to fit the arm holes of your sweater. Open up the seams of the sweatshirt if you don't need to cut it down.

Open up your sweater and your sleeves and pin the two pieces right sides together.
Sew the sleeves into place (and I recommend you find someway to finish the edges, either with a zig-zag stitch, pinking shears or an overlock machine)

Next take the two large sweater pieces you cut previously and cut them at the sides to fit the waist of your sweater.

Pin and sew your sweater bodice to your skirt with right sides together. Again finish off the edges.
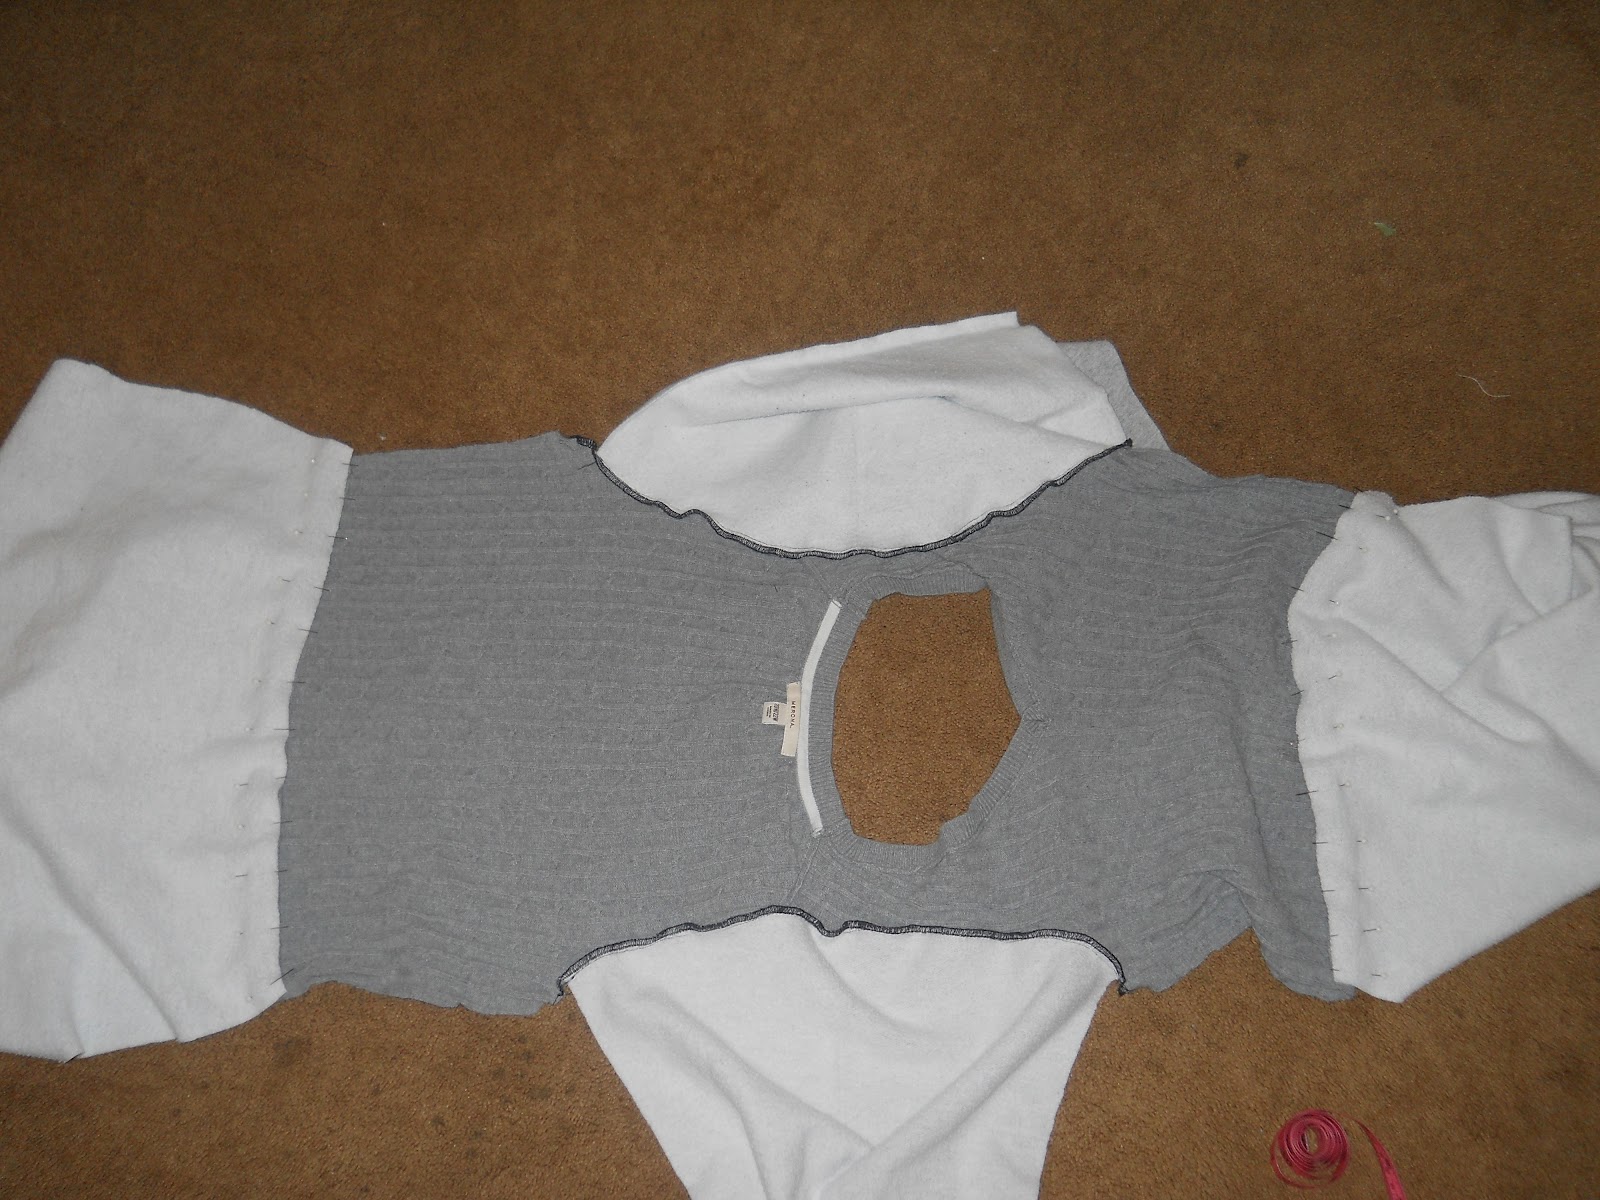
Next fold your dress over so right sides are together. Pin making sure to match up your seam lines at your waist, sleeves and hem.
Starting at the sleeves sew a continuous seam all the way down to them. Again finish off the edges. (This is my first time putting a garmet together this way and I have to admit, I like it a lot more than piecing everything together bit by bit. Plus it gives a professional finish)

Try on your garment and decide the length you want your sleeves. I decided on a quarter length sleeve. Mark and cut off your excess material.

Using some of your scrap sweater material cut two pieces that are the size of your sleeves by about 4 inches. Sew them into tubes and pin right sides together to your sleeve and sew.

Next fold your cuff over and fold to make a binding. Pin and sew. (FYI make sure to do this step using your longest stitch lenth and take your time, otherwise you'll break your needle because of the thickness of material).

At this point you can totally be done if you want and you can rock your dress.

I however, wanted to add something special to mine. So taking my extra sweatshirt I cut out a hood shape.

Pin the right sides together and sew.

I finished all the raw edges of my hood next and then pinned and sewed into place.

I had to go back and make a minor adjustment to fit my belly (i.e. raising the waist line) but after that you're finished- unless you're like me and reminded of Hermione Granger by your dress and you decide to add a prep-school patch to your uniform, I mean dress.


whoah this weblog is great i really like studying your articles.Keep up the good work! You understand, many people are hunting around for this info, you can aid them greatly.
ReplyDelete