Showing posts with label diy valentine. Show all posts

Monday, February 8, 2016

Best Valentine's Day DIYs For Him and What Not To Make

So a little over a week ago I posted 10 Truly Different Valentine's Day Gifts Ideas for the Man in Your Life  if you haven't checked it out yet, I highly recommend you check that out.

This week I'm going to share my tried and true DIYs that your man will actually appreciate.

I'm going to spare you some time too because there are a lot of cute DIYs out there for men that I've tried and let me tell you, while Josh appreciated the thought and effort- he didn't really care for the gift. Save yourself the trouble on the following DIY gifts when it comes to your man.

1. Stuffed Animals


Unless the man in your life is under the age of 10, don't make him a stuffed animal. He doesn't care, nor is he going to snuggle with it when you aren't around. It's going to end up in some obscure place and you're not likely to see it. 

2. Felt Fortune Cookies


I spent some stupid amount of time making these felt fortune cookies and I'm pretty sure that Josh didn't really bother to read them. And I think the cookies themselves ended up in the trash.  

3. Love Letters


I spent so much time making this beautiful little leather bound book filled with poetry I wrote throughout our relationship. Hand dyed all the paper, wrote everything in calligraphy, hand cut leather silhouettes of us etc. Don't get me wrong, Josh thought it was really cool and it's sitting in his bedside stand, but he doesn't ever read it. It's a beautiful keepsake and I'm sure it will be treasured but  in hindsight I should have just bought him a basket full of his favorite candies.


Now that we got the things that aren't worth your time DIYing for your man, let's talk about the things you should make for him.  This list will be longer, I promise.

1.  An Ice Pack


I know what you're thinking. These seems like a crazy idea- but I made one for Josh to include in his 30 presents for 30 years and he loves it. It is constantly in use, whenever he has a fever or a sore back this sucker comes out of the icebox. It's covered in a soft flannel and I hand appliquéd it to look like a vintage game boy. And as you can see by his fb post above, he really appreciates this.

2.  A Heart Footprint or hand print.


I made this for Josh on our son's first Valentine's Day and it's one of those keepsakes that Josh really loves. We have it in a shadowbox, in which I am getting ready to add a small play dough heart that Matthew made Josh last month. 

3.  A Mixed CD.


A few years ago I made Josh this mixed CD with a bunch of songs from different movies we had gone to see together. He loved it and it was a nice way for us to relive some of our favorite memories together. It also got us in the mood to watch some of those movies again and that meant more time together!

4. A Box of Homemade Sweets


A few years ago I spent a day baking different treats for Josh. I made his favorite cookies: pink white chocolate macadamia nuts, red velvet cheesecake brownies, and cheesecake stuffed strawberries. It was a goodie box full of his favorites and he loved it. 

5. A Romantic Meal


You could make him his favorite breakfast in bed, or surprise him with a romantic dinner for two. One year I spent some serious time at the dollar tree picking up candles and crystals and decorating our apartment for an indoor picnic. I set out a blanket and cushions and made him a gourmet pizza and double layered chocolate coffee cake. Your guy is sure to appreciate the time you put into feeding him, especially if you like me don't ever cook.


Monday, February 27, 2012

Fabric Card (Valentines Day?)


So I made this card for Valentine's Day. I made the tutorial and then I forgot all about it! Oops! I hope you'll forgive me. But you can make a card like this for any occasion and I think it's great for moms, dads, boyfriends, grandparents- you'd be hard to find someone who wouldn't appreciate this.

What you'll need:
Fabric
Fabric pens/markers
Fabric scissors
Embroidery floss
Embroidery n

Needles
Iron on interfacing
Ribbon (optional)
Sewing machine

Start by picking out your front and back fabric. I chose white on the inside and black for the outside. Cut them to equal size (I measured mine based off of the size of a DVD cover). Press your fabric. Fold in half and press again so you have a center fold.


Take your front piece. Fold the front half in half and cut out a heart shape.


Because this was for my boyfriend I decided to rough up the edges along my heart cutout so I pulled on the loose threads to fray it.


Next take a second piece of fabric for a reverse applique. You can use any kind of fabric, I went with a white fabric and then I drew on it the first notes of music from our song.


Using your embroidery needle and thread sew your applique on.


Turn over and cut off any excess fabric.


You can use your embroidery floss to embroidery words or designs onto the front of your card.

Next take your interfacing (cut it a bit smaller than your card) and iron it on to the backside of your fabric.


Next decorate the inside of your card. Use your fabric pens to write a message. Embroider a few important words, sew pockets for small gifts. Your imagination's the limit on this one.


To finish your card you can do 1 of 2 things. You can pin the right sides of fabric together, sew around it and leave an opening to turn out and then top stitch. Or you can do like I did and pin the wrong sides of fabric together and sew around it so you have a rougher look.


My boyfriend really loved this gift and I hope you do too!

Tuesday, January 24, 2012

Eye Heart Sleep Mask

Ever see those millions of eye patches that are shaped like hearts? Well I saw one the other day and it inspired me. But I took it one step further and made a sleep mask.


This is a really easy project and shouldn't take you more than a half hour to make! Plus it's lots of fun.

What you'll need;
Fabric of your choice.
Ribbon
Decorative trims
Straight pins
Sewing Machine
Paper
Scissors
And a touch of whimsy.

Start by gathering your materials.

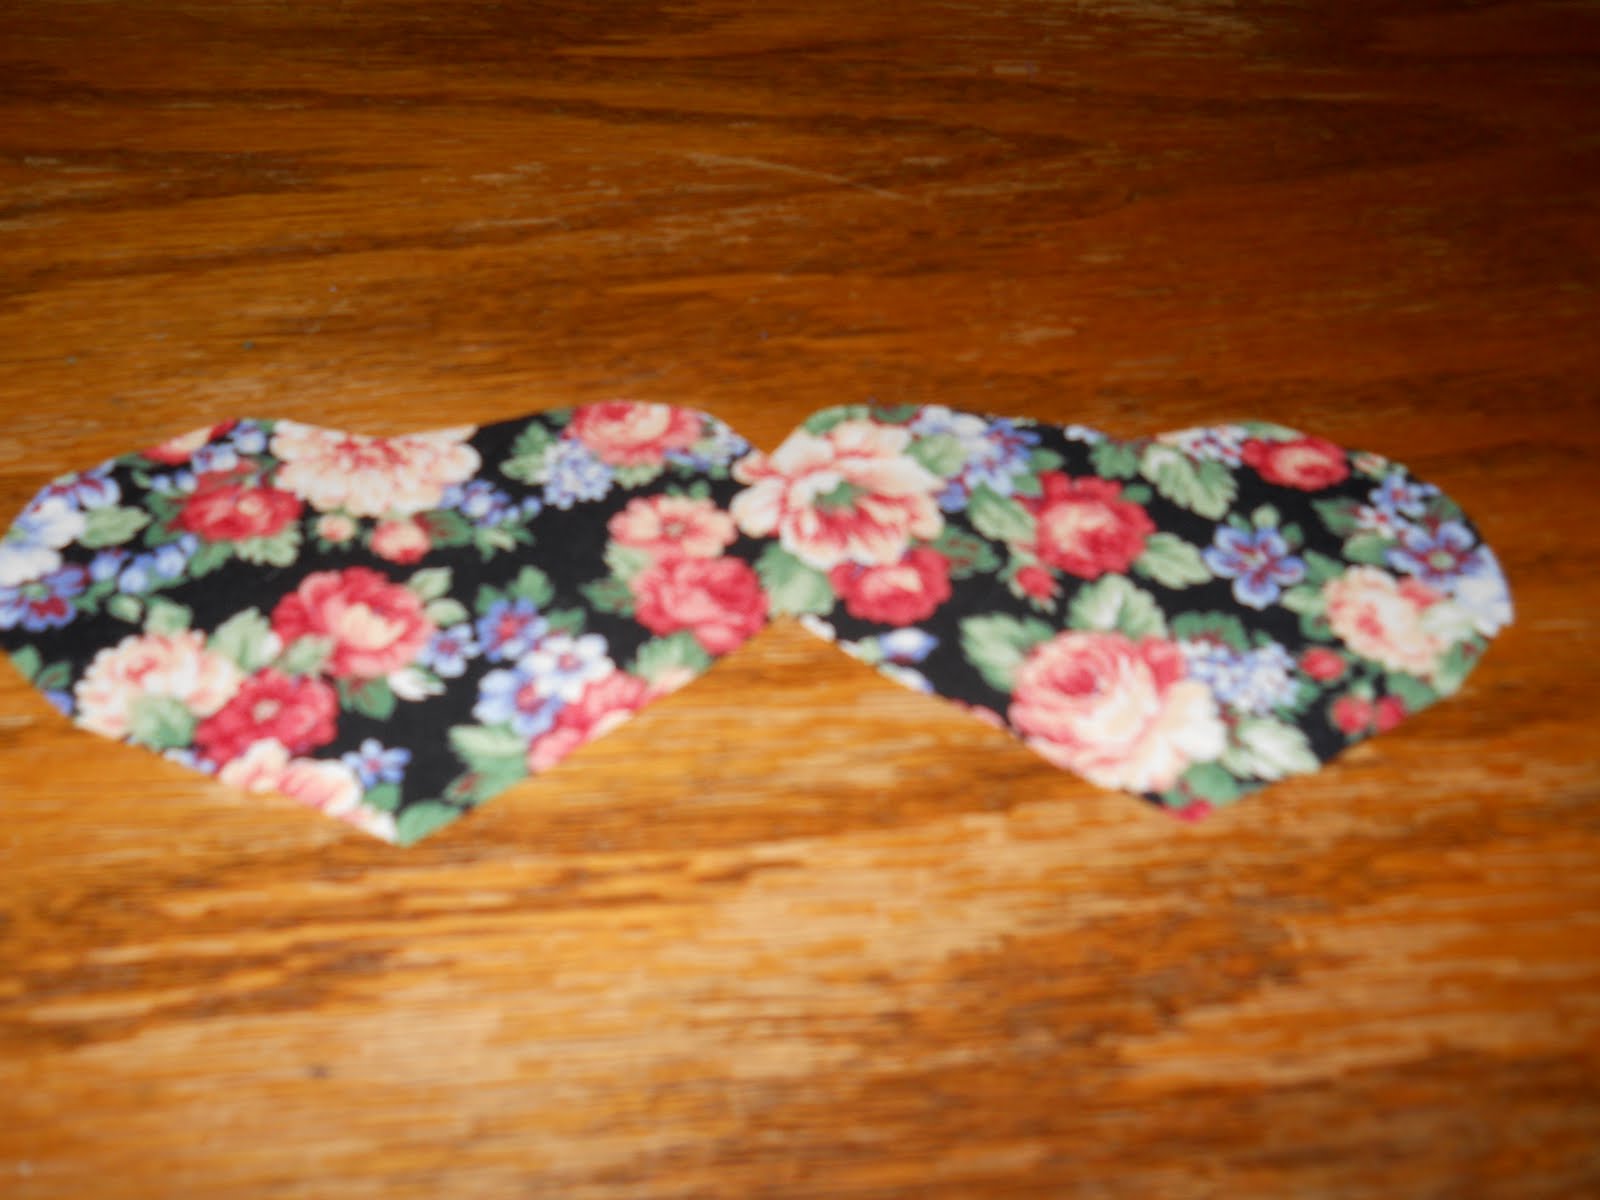
Take a piece of paper and start cutting out heart shapes. I suggest going with the largest heart shape you cut because it will shrink even with added seam allowance.


Pin your heart along the fold line of of your fashion fabric.


Cut it out with seam allowance in mind. It should look like this;


Cut a second one for your back piece.


I like a heavier weight sleep mask so I also cut out a third (smaller piece) for an interfacing out of fleece. If you do decide to do a lining just keep in mind what I didn't, and that is that you're going to be turning this right side out through a small opening.


Pin all your layers together making sure your fashion fabrics are right sides together and your interfacing is on the outside.


Cut two pieces of ribbon about an inch long.


Fold in half.


Sandwich your ribbon in-between your two fashion fabrics.


Sew around your sleep mask leaving an opening to turn it right side out. Make sure you get all your layers. I didn't do that the first time and had to re-sew it again. Oops!


Cut slits around the outside of your sleep mask making sure that you don't cut through your stitches.


Start turning it right side out. This is where I had a few problems because it's a lot of fabric through a small hole. Just keep working the fabric, you'll get it.


About this time is when I realized that I pinned my ribbons lopsided. But I like it, kind of gives it character.


Fold your opening shut and pin in place.


Top stitch all the way around your sleep mask.


You can be done now but I added some decorative trim around mine.


Run your ribbon through your two loops and you're done.


Just like that you're done!