Every little girl wants to be Cinderella.

Step one- gather your materials, you'll need a various fabrics, scissors, ribbon, fusible interfacing and a sewing machine.

Cut 4 pieces like this. I used a t-shirt as my guide and made sure to cut it smaller than the actual t-shirt because there will be a third piece that will go in between.

Cut 2 pieces like this;

Pin 1 of your center bodice pieces to one of your left bodice pieces and sew.

Repeat by sewing same center bodice to right bodice.

Cut 10 pieces of ribbon about 1 inch long.

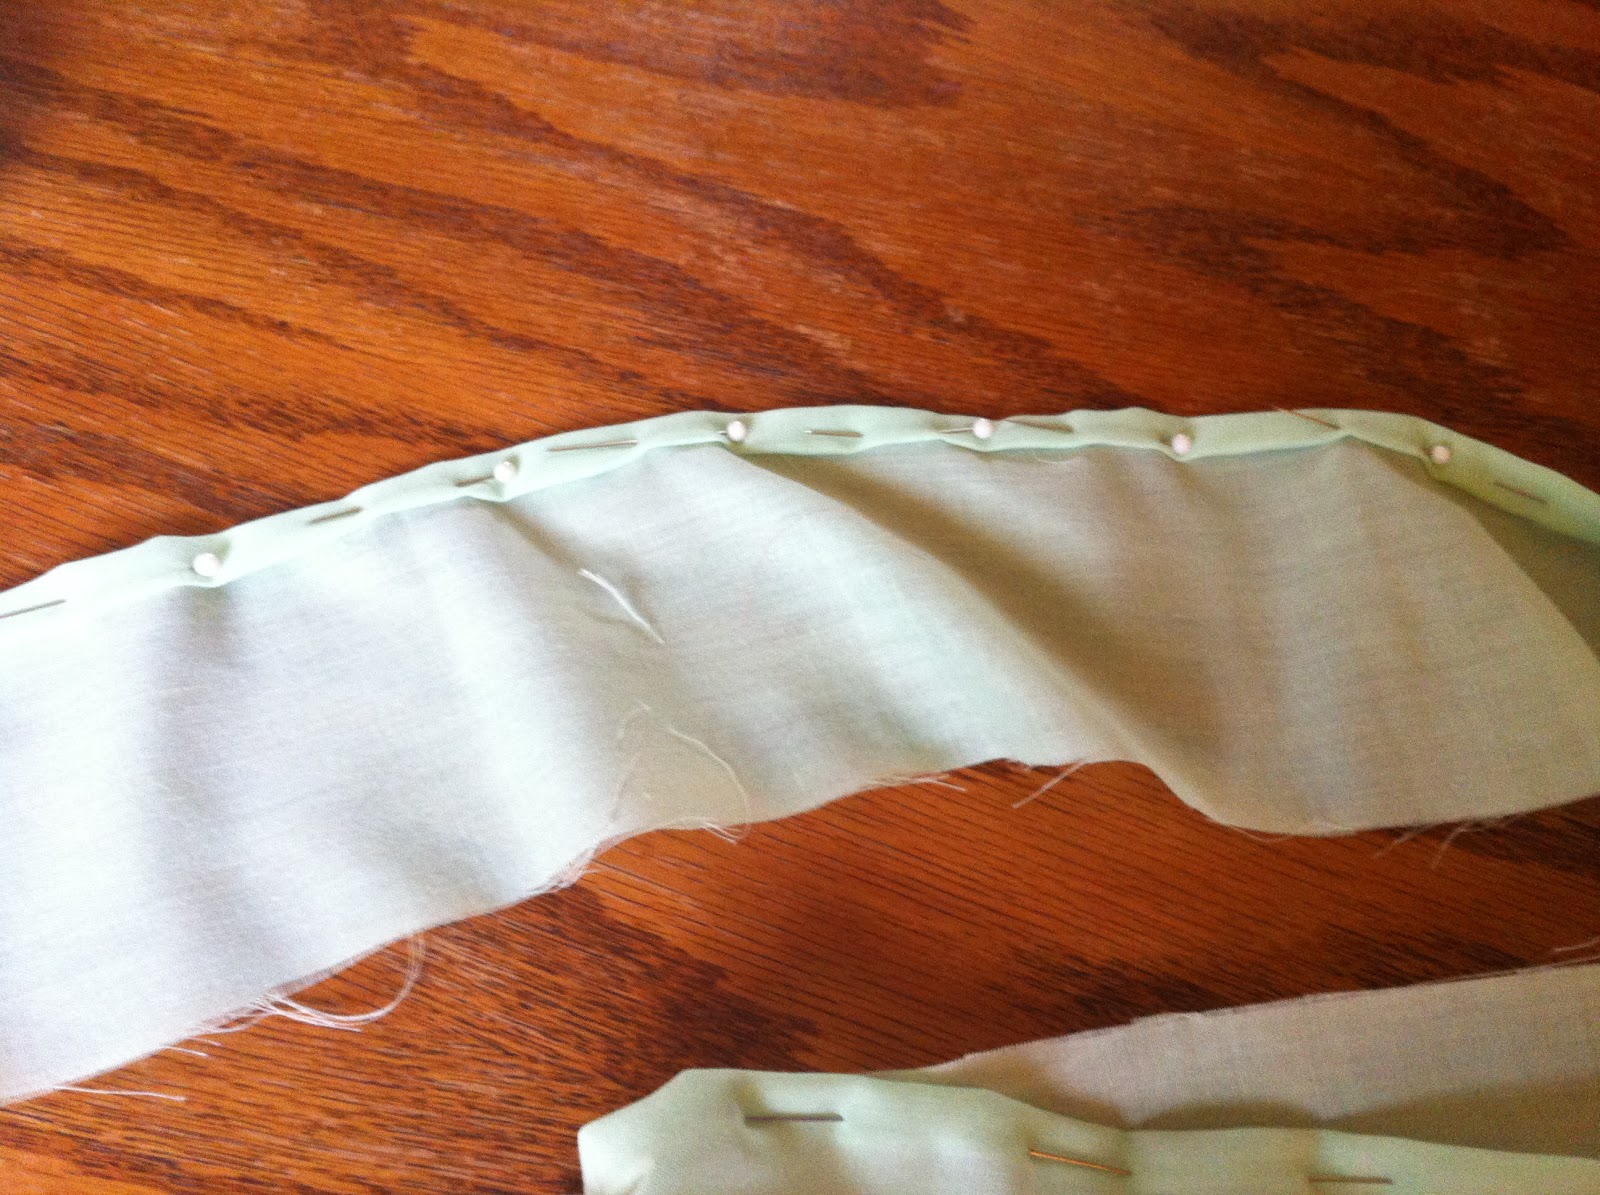
Fold ribbon in half and sandwich between center bodice and left bodice, pin and sew;


Repeat on opposite side.

Pin right sides together of both bodice pieces and sew along sides and neckline.

Turn right side out and set aside for now.
(Optional: For the bottom of my apron I died the white fabric in tea giving an uneven dye so it appears dirty like Cinderella's apron would have been.)
Cut 4 long strips for the apron ties;
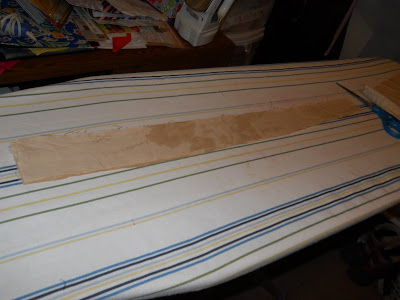
With right sides together sew two pieces of together along the long sides and turn right side out.
Cut out a trapezoid shape for the bottom of your apron and hem along the 3 long sides )make sure that the short side will match up to your bodice perfectly after hemming.
By this point your pieces should look something like this;

Sew your bodice to the skirt of your apron;

Pin and sew apron ties to sides of apron and close off open end by folding it in on itself and sewing down.

Next cut 4 strips of fabric in the same fabric of your bodice. With right sides together sew long sides to make 2 ties.

Fold raw edge of one side of each tie in on each other, pin and sew.

Attach at shoulder in your choice of method (I used my serger to finish most of my raw edges).
The next steps are optional, you can be done at this point if you like. I chose to make patches though.
To do this cut out fabric you'd like to use for your patches and cut out fusable interfacing in the same size and shape as your patches.

Fuse interfacing to fabric patches.

Attach your patches in the where you want them on your apron. You can use a satin stitch if you like but I used a straight stitch and went back over it using a criss-cross stitch in embroidery floss to make it more cartoonish.


Finished!