

This is a really easy project and shouldn't take you more than a half hour to make! Plus it's lots of fun.
What you'll need;
Fabric of your choice.
Ribbon
Decorative trims
Straight pins
Sewing Machine
Paper
Scissors
And a touch of whimsy.
Start by gathering your materials.

Take a piece of paper and start cutting out heart shapes. I suggest going with the largest heart shape you cut because it will shrink even with added seam allowance.

Pin your heart along the fold line of of your fashion fabric.

Cut it out with seam allowance in mind. It should look like this;
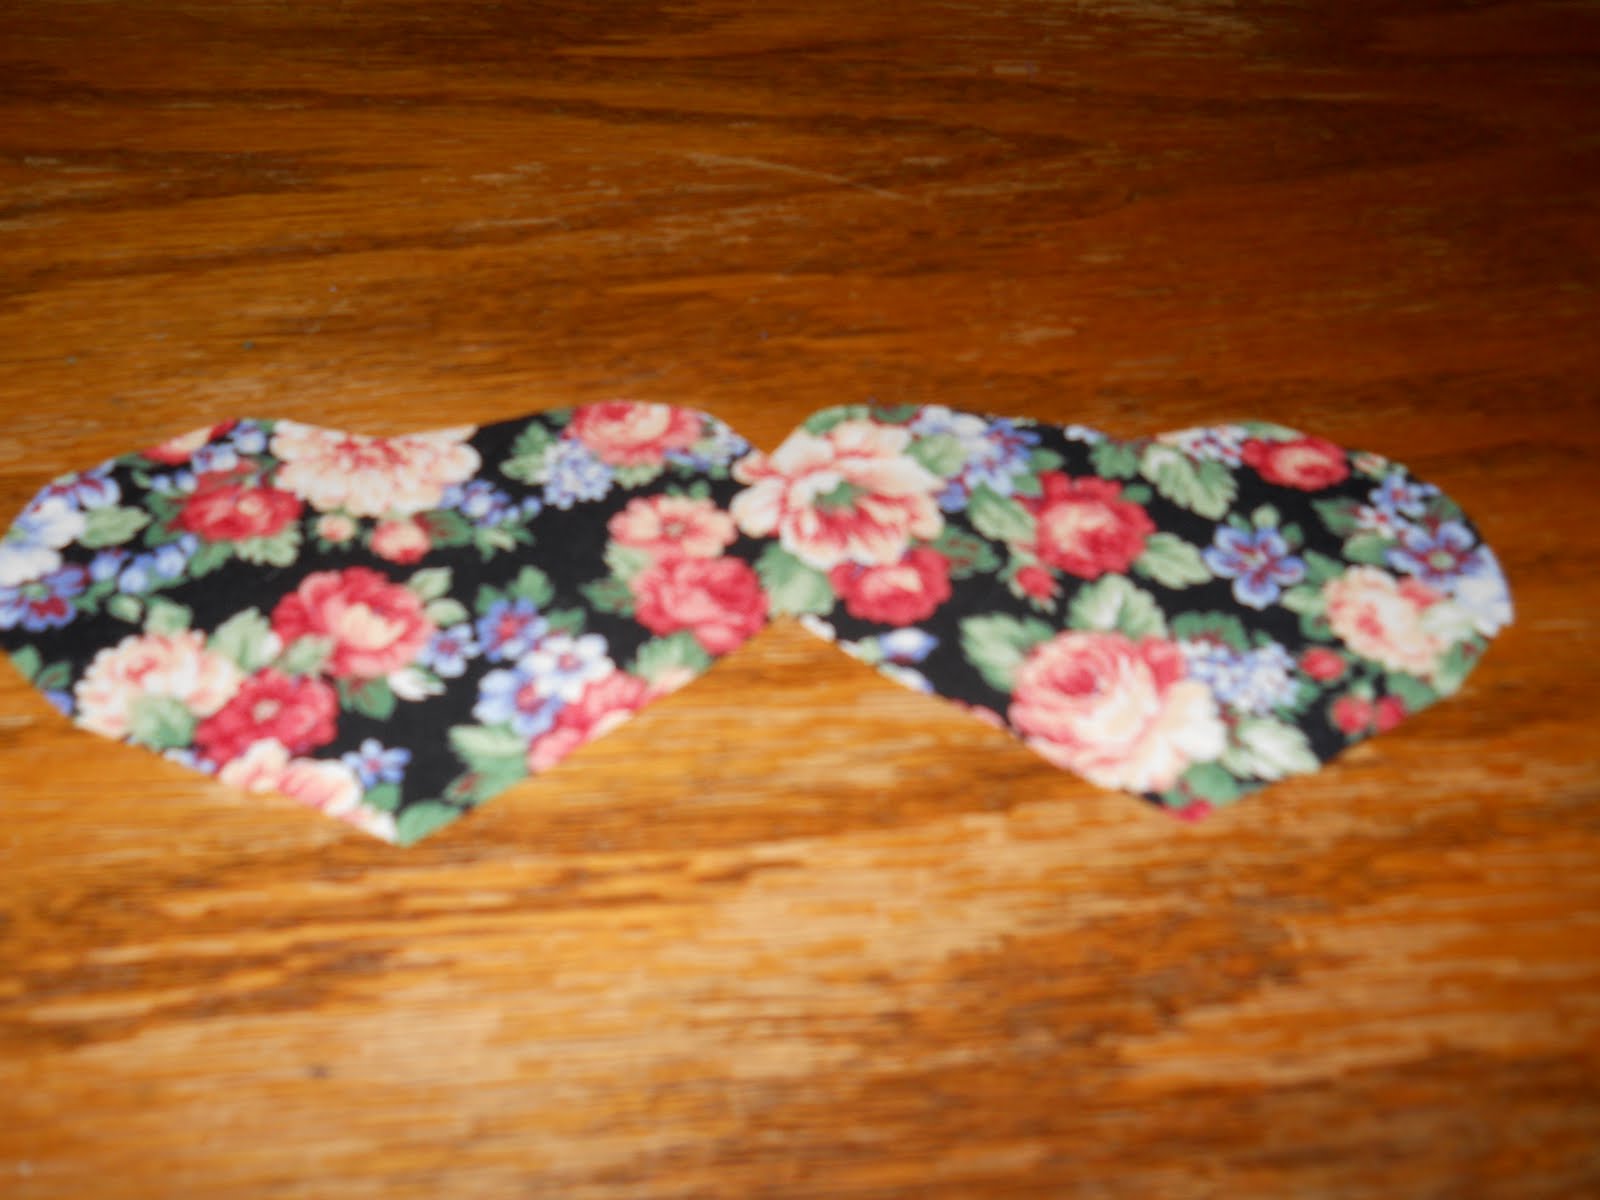
Cut a second one for your back piece.

I like a heavier weight sleep mask so I also cut out a third (smaller piece) for an interfacing out of fleece. If you do decide to do a lining just keep in mind what I didn't, and that is that you're going to be turning this right side out through a small opening.

Pin all your layers together making sure your fashion fabrics are right sides together and your interfacing is on the outside.

Cut two pieces of ribbon about an inch long.

Fold in half.

Sandwich your ribbon in-between your two fashion fabrics.

Sew around your sleep mask leaving an opening to turn it right side out. Make sure you get all your layers. I didn't do that the first time and had to re-sew it again. Oops!

Cut slits around the outside of your sleep mask making sure that you don't cut through your stitches.

Start turning it right side out. This is where I had a few problems because it's a lot of fabric through a small hole. Just keep working the fabric, you'll get it.


About this time is when I realized that I pinned my ribbons lopsided. But I like it, kind of gives it character.

Fold your opening shut and pin in place.

Top stitch all the way around your sleep mask.

You can be done now but I added some decorative trim around mine.

Run your ribbon through your two loops and you're done.


Just like that you're done!


