

To make your hood start by tracing out our pattern from a hood your child already has. Repeat for your lining fabric.

Cut out 4 triangle pieces for your ears. Sew two sides of the ears together and stuff with some batting.

Mark where you want your ears on the outer fabric only and cut slits. Having a rotary cutter would make this piece much easier.
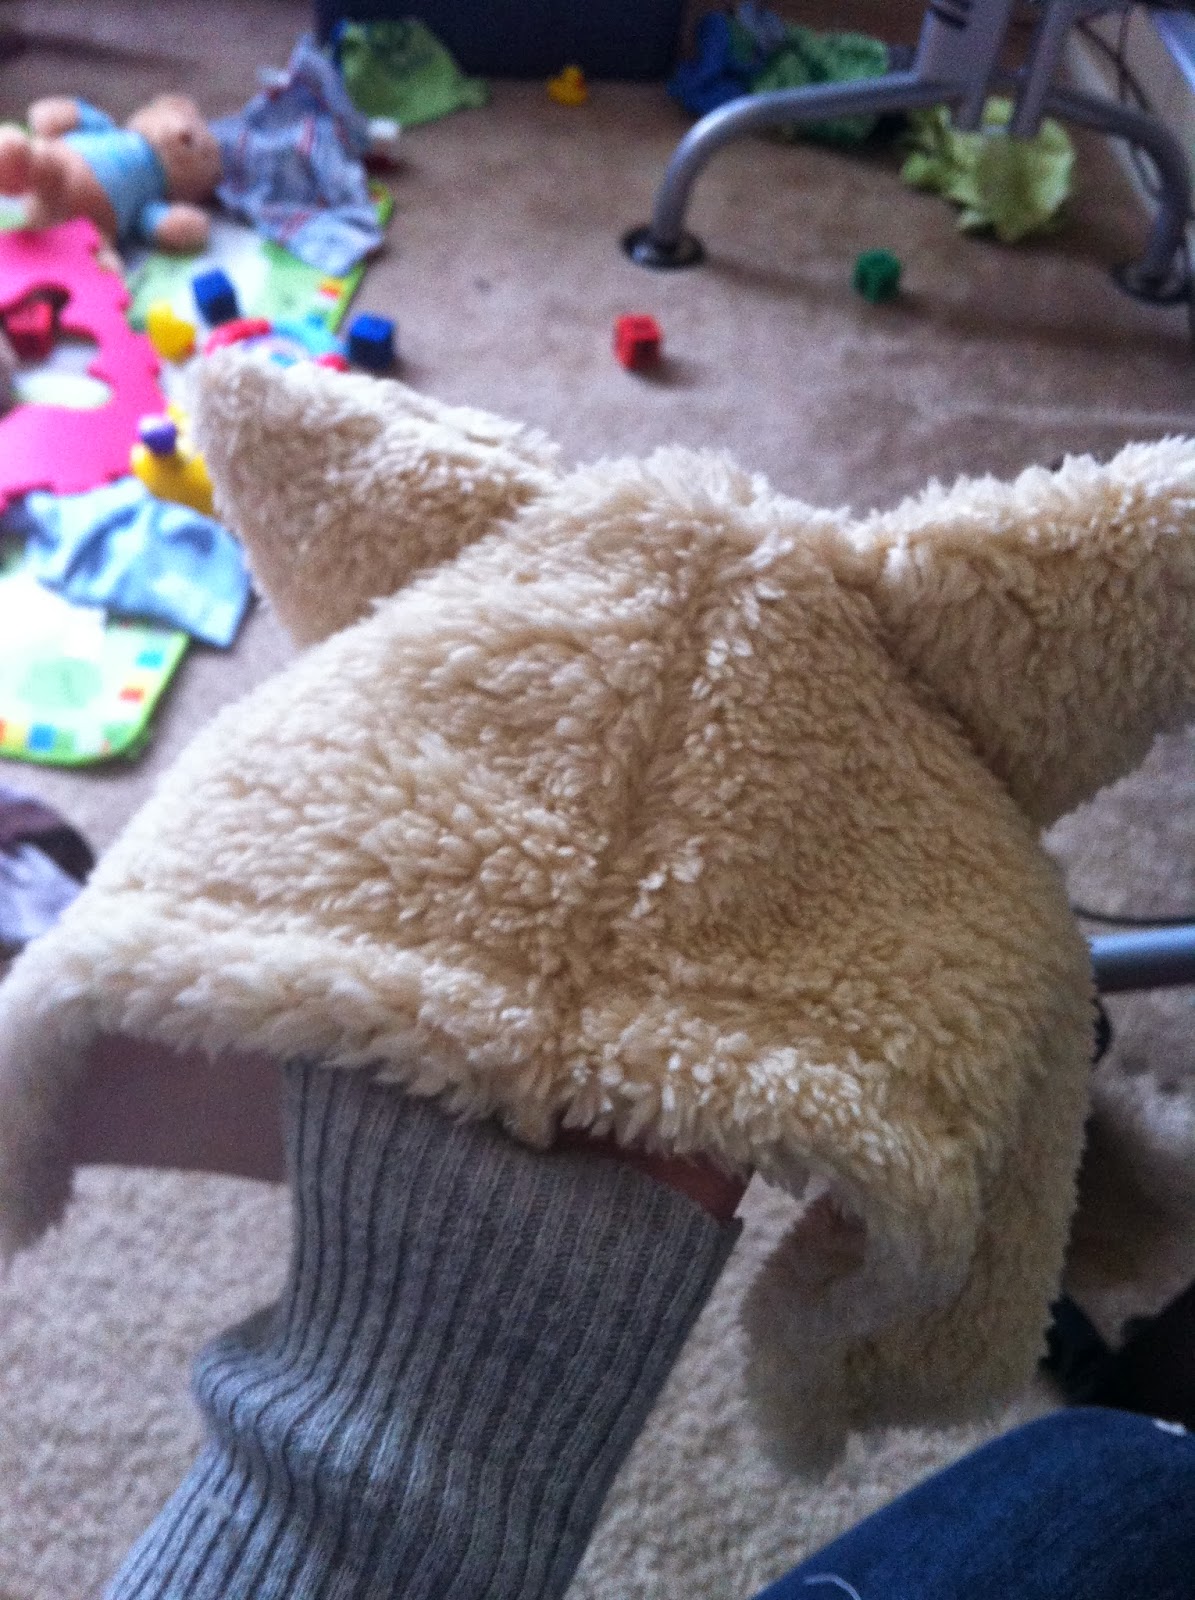
Insert your ears and sew in place with a straight stitch.

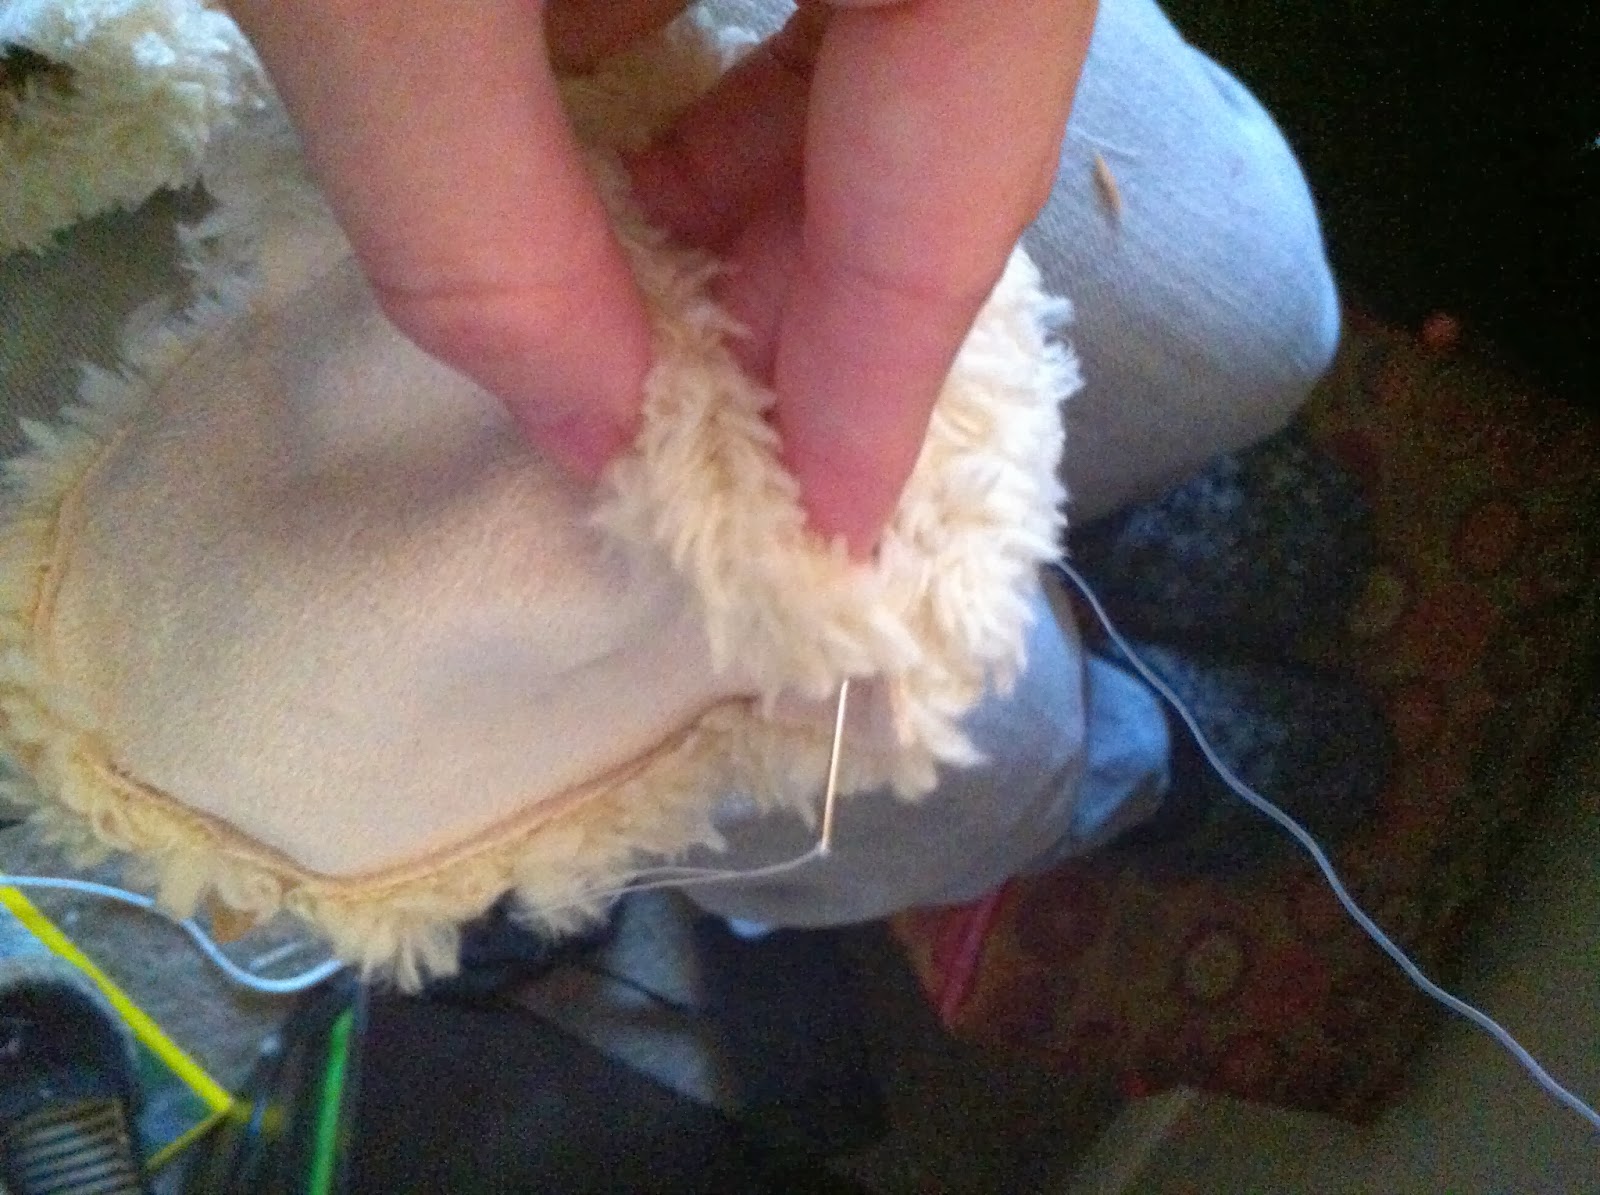
Insert your lining and use a basting stitch to sew the two pieces together at the front.

Cut a strip of your fur and your lining of equal length and sew 3 sides together. Then pin and attach to your hood. Finish by sewing a button hole and button and wear.

For the booties start by taking a pair of shoes that fit your child.

Trace around and repeat for a second bootie

Next trace just the top half of your slipper and measure around the heal of your slipper to get the correct length of the back of your booties. Cut out two little claw pieces of felt. Your pieces should look like this.

Fold over the top of your two long strips and sew down to make a casing for elastic.

Using a safety pin run your elastic through your casing and gather as you go.

Next pin the corner of heal to the corner of your toe. Repeat on the other side and sew. I didn't photograph this well so I apologize.

When you turn right side out you will have something like this.

Next pin your claws to the front of your sole and sandwich in-between the top of your shoes and the bottom.

Sew all the way around.

When you turn right side out it will look like this.

But at his point I realized I didn't hem the top of the toe, I turned the bootie back inside out and hand stitched. It was quick and took less than a minute.

No comments:
Post a Comment