

What You'll Need:
1 Matching top and bottom set.
1 Sewing Machine
1 serger (optional)
Seam ripper
Tailors Chalk
Measuring Tape
Fabric Scissors
Scrap Fabric
Buttons
1. Start with a matching top and bottom set.


2. Begin by deconstructing the skirt- for me this meant removing the elastic band.
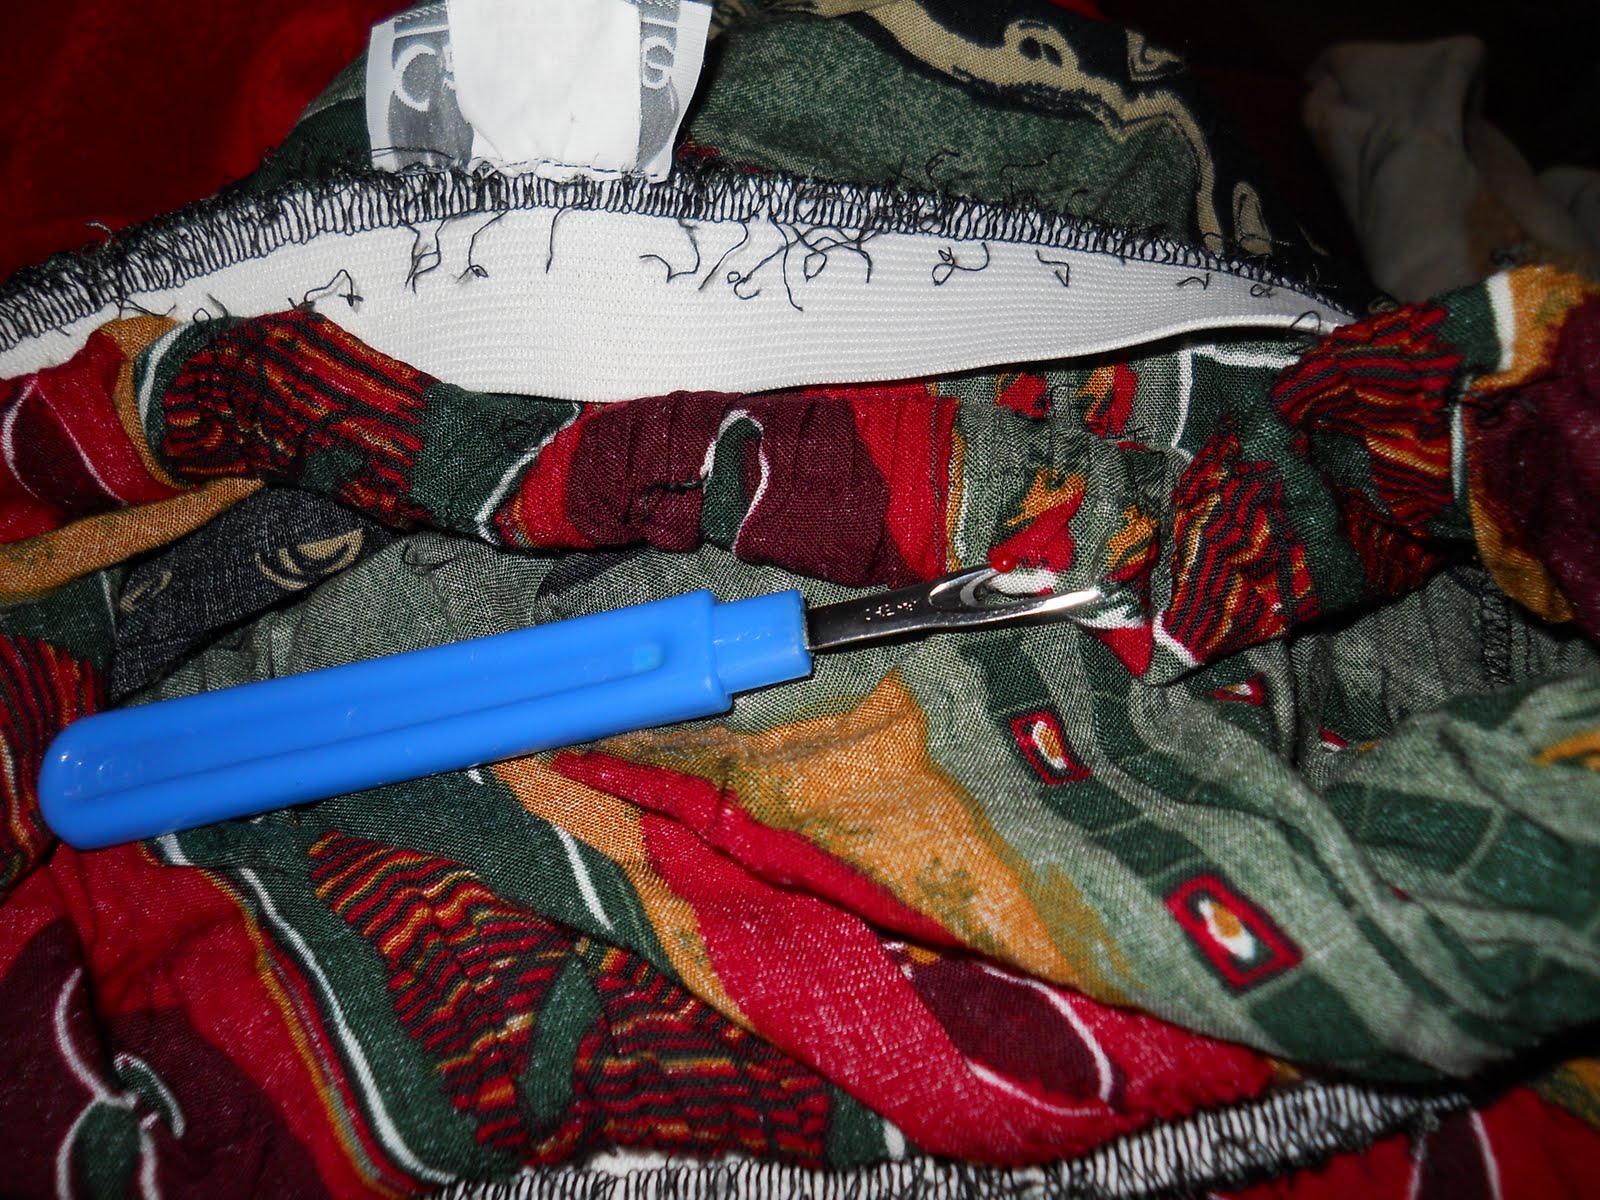

3. Remove the first tier of your skirt from the bottom and remove the gathering stitch along the bottom tier (you'll need to put in another one anyway). Iron both pieces.


4. Measure about 3-4 inches above your navel and measure around yourself there. That will be your waist measurment. Cut your fabric inculding your seam allowances (for me this was an extra 2 inches)


5. You're going to need a front and a back for your waist band- for me this just meant cutting my original waist band in half.

6. To make it possible for you to get into your dress, cut open the center back of both your waist bands.
7. Serge the open ends or overlock using the zig-zag stitch on your machine.


8. I pressed my seams down with stitch witchery and then sewed down to secure.


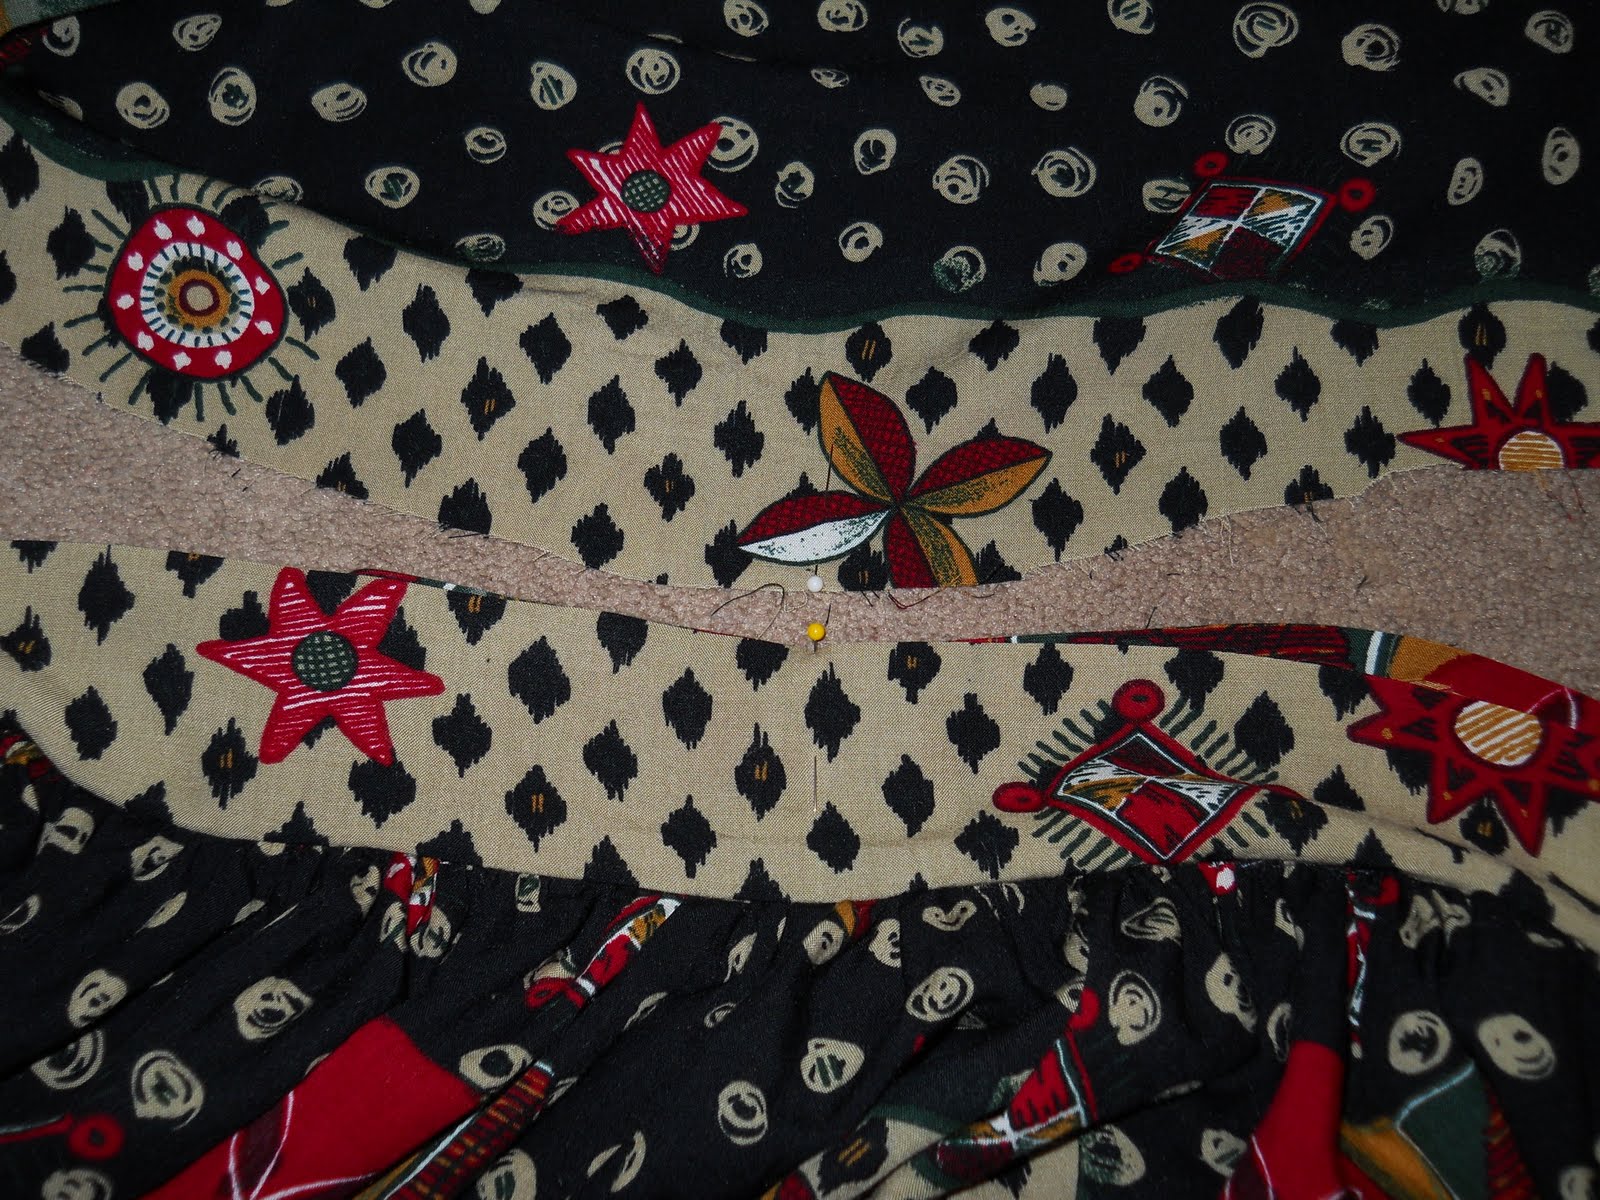
9. Cut open the center back of your skirt and serge or interlock your seams with your zig-zag stitch. Press down the seam with stitch witchery and sew as you did before with the waist band.


10. Set your stitch length on your machine to the longest length and your tension to the hightest. Sew a straight line along the top of your skirt and you should get a gather.
11. Fit your skirt to your waist band by pulling on the gather string until it is the right size. (I forgot to photograph this part).
12. Pin and sew the front and back of your waist band to the skirt of your dress.


Believe it or not you just finished the difficult part. Those gathers can wear a person out, I think I re-did mine 4 times. How many did you have to re-gather yours?
13.Next take out your top and mark out on the back. (note your shirt should be loose fitting on you).

14. Cut the excess off of your shirt.

15. I had these little flappy things on the inside of my collar, if you do to just remove the one on the back.

16. Next cut out along the marks you made before (be sure to only do this on the back and to leave seam allowance)
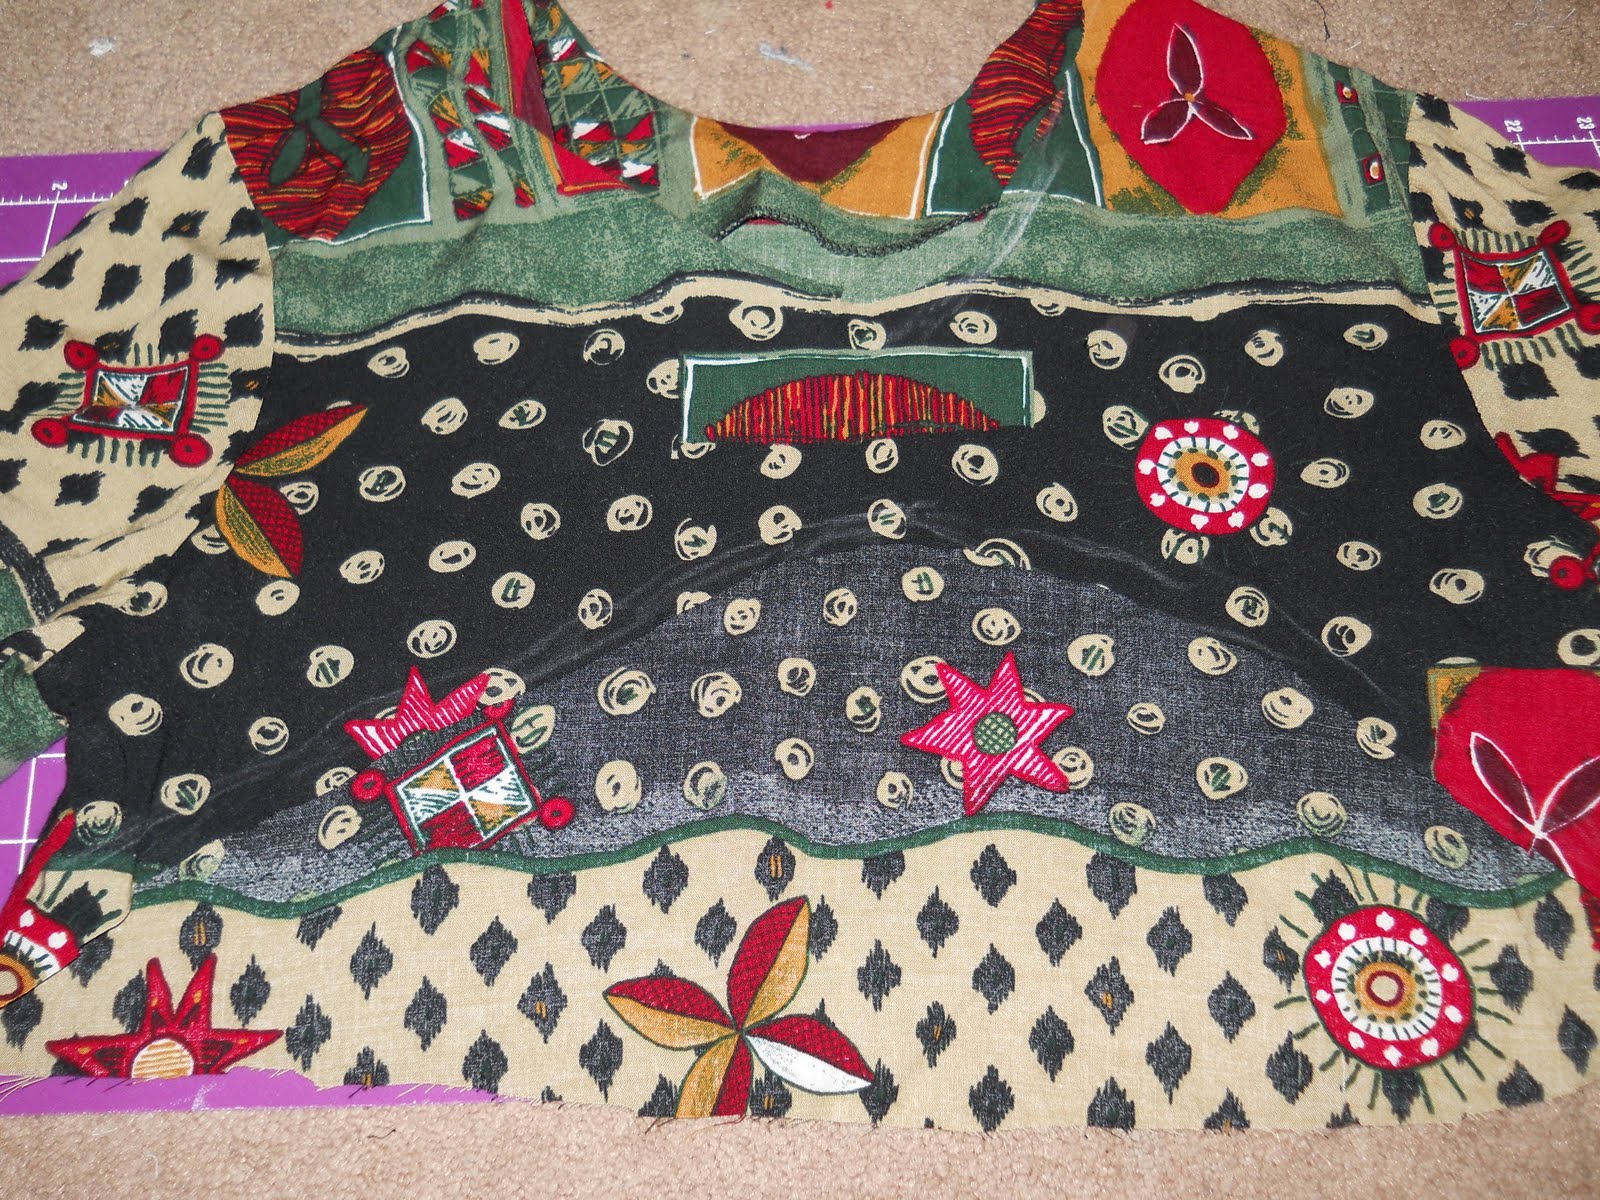
17. Cut your center back open.


18. If you pin your pieces onto your dress form you should begin to see it take shape.
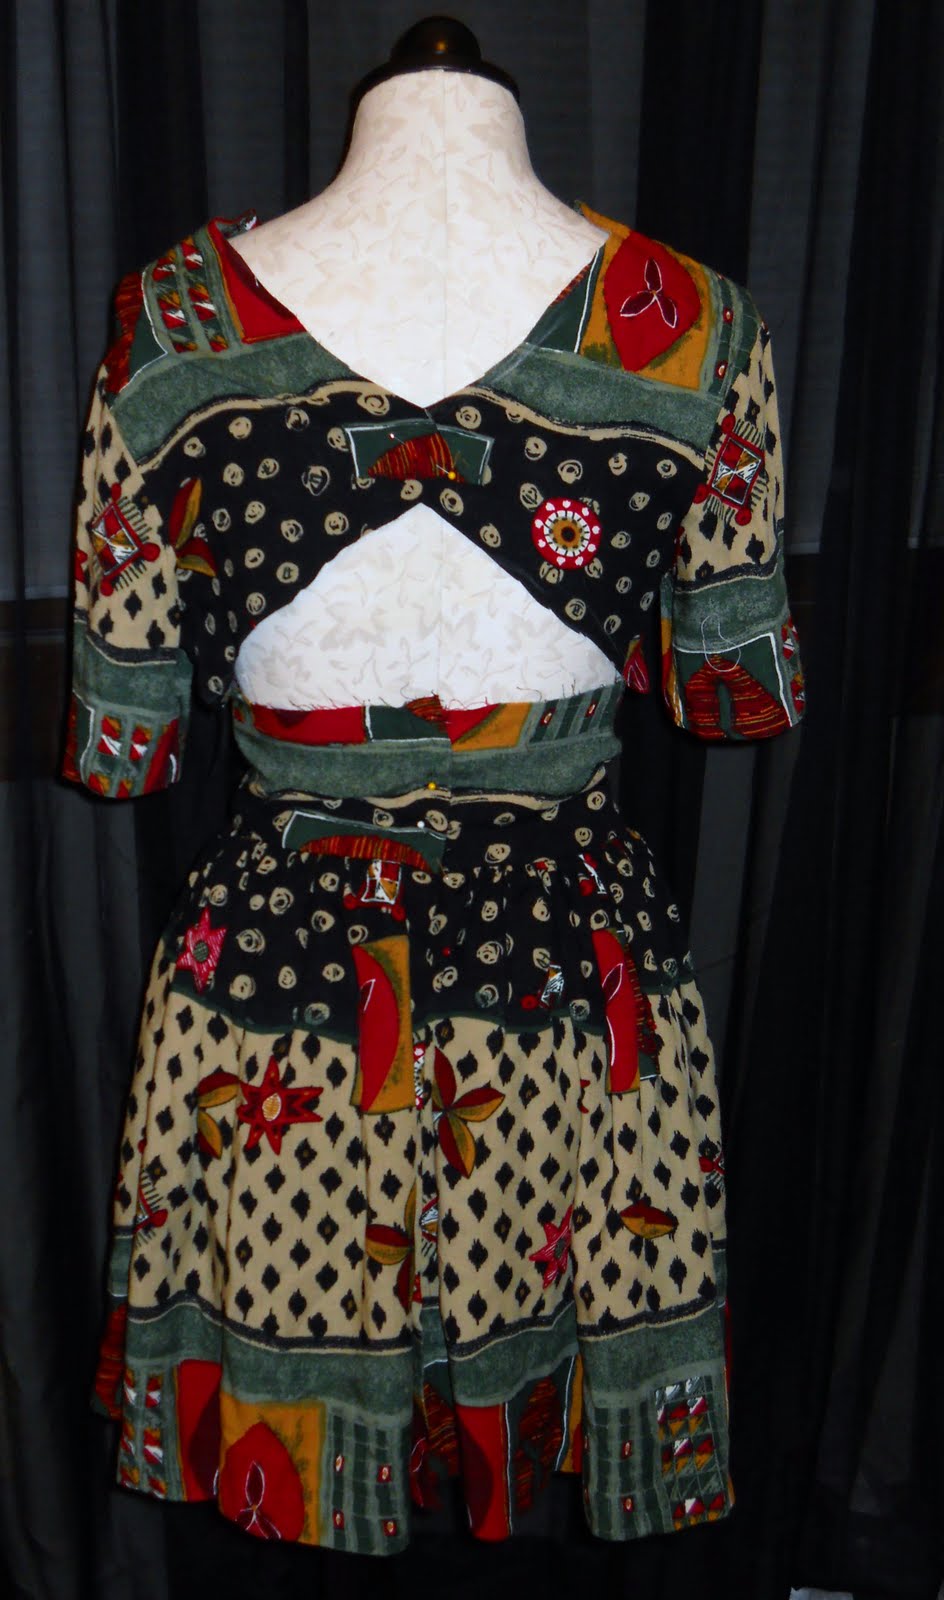
19. Next, using your seam ripper take apart the pieces of your top.

20. Make sure that the two back pieces are the same and then using your scrap fabric and tailors chalk trace out two new pieces for the inside lining of your back.

Ghost? It didn't appear in the picture I took right after. WEIRD!

21. Cut your pieces out. Pin the right sides of your fabric together and sew along the outside curves.

22. Turn right side out and press.

23. Top stitch.

24. Sew the shoulder seams back together.

25. ...and the side seams.


26. Re-attach your sleeves.


27. Going back to your skirt, press down and in the top seam of your waist band.

28. Mark the center front of both your skirt and bodice and align them together.
29. Pin your bodice between the two pieces of your waist band.

30. Also pin shut the side seam of your waist band and sew shut.

31. The last thing you will do will be to add buttons and button holes along the seam you created before with your stitch witchery and on the back of your bodice.

And you are done! Rock it!


I love this, I've been meaning to try a cutaway refashion for a while. Thanks so much for the tutorial xoxo
ReplyDelete