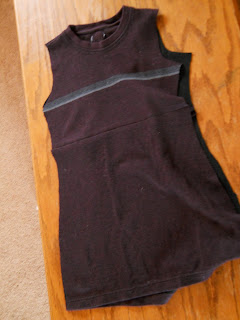
Lay your sweater out flat and make sure the bottom hem is lined up front and back.
Place a tank top on the front center trace around it Be sure to leave room for seam allowance.


Measure about 2 inches below your bust (for me this was about 10 1/2 inches) Mark a straight line across your pattern at this point.

Cut out around your tank pattern and across where you marked your line.


Pin the front piece of your top to the front piece of your bottom. Repeat for the back and sew along that line.
Rembember that the thicker your fabric the wider your stitch length should be. So if you are using a thick sweater you will want a longer stitch length than average.


Flip your dress inside out and pin the sides together (I recommend starting at the bottom and working up) Sew along pin lines.

Take the sleeves from your sweater and mark out new sleeves being sure to give a little extra for seam allowance.


Use your first sleeve to make a pattern for your second. I made my sleeves quarter length and wanted them to be fitted. Be sure to measure around your arm where you want your sleeve to stop at so it can taper to that point.
Sew along line to close your sleeves.

Pin and hem your sleeves.

Pin and sew sleeves inside sleeve holes.

Add a bow on the center front where you sewed a bust line and you are done!


that's really cute!!!
ReplyDeleteWow great tutorial and the dress looks amazing too
ReplyDelete